Beautiful Oops is an inspiring book for young artists, encouraging "happy accidents." The book is filled with could-be disasters in the art room - stained, torn, wrinkled, ripped paper - that transform into magical works of art, using just a little creative thinking. It was a fun activity for early in the year - we loosened up and had fun with our torn newspaper! We learned about o
rganic shapes and their irregular, curved or uneven sides - these shapes don't have to follow rules like the geometric shapes do. Clouds, wiggly worms, and puddles are great examples of organic shapes. After reading the book and choosing our scrap, we practiced a bit by tracing our scrap on paper and sketching our plan. The second week we painted the actual scrap and finally we mounted our work and added a title. Such a fun creative thinking project - thanks Barney Saltzberg for a great book!
Unicorn Oops
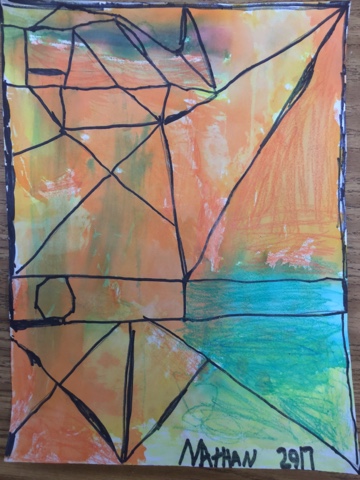
Swordfish deep down
Meat Oops ( love this so much!)
The Beautiful Oops house
Pizza Oops
Rainbow Oops
Fish Oops
Loose tooth Oops - ha!
Pond Oops
Color Teapot oops
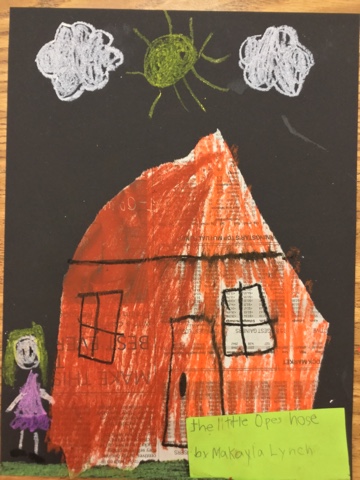
The little Oops house
The wold oops


 If you're interested in trying out my mystery drawings, I have two sets available in my Teachers Pay Teachers store - the owl is in the first set and my second set, called "Mystery Drawings Round 2," has five new subjects. https://www.teacherspayteachers.com/Store/Mrs-Knights-Smartest-Artists