Let me once again proclaim that "I Love Printmaking!" It is such a fun process and I love the surprise each time you pull a print. Printmaking is a way of making multiple pieces of art by creating a printing plate and using ink and paper for the copies instead of a single drawing or painting. We do a variety of types of printmaking in K-5 at Dolvin, and 5th grade gets the challenge of
reduction printing. It isn't difficult, but there are a lot of steps and procedures that must be followed correctly, so you've got to be focused! The printing plate is reduced, or made smaller, with each session of printing - this can be done by actually cutting the plate or by filling in areas with pencil so they wont receive ink.
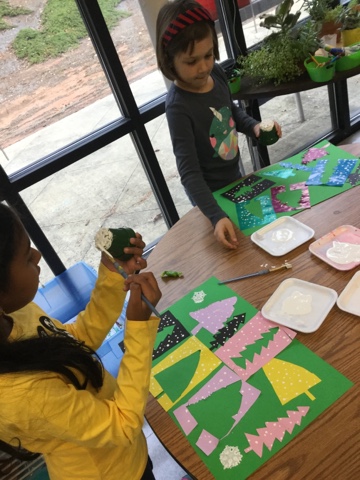
A simple image works well for reduction printing, as it will go through several stages and changes of color and texture, so we selected a leaf or acorn shape and drew a contour outline on the printing foam. We printed with a single color ink on a few different colors of paper.
Once dry, we rinsed the foam plates and added a cross-hatching pattern in the negative space, as well as a few details inside the positive space - the leaf/acorn. The following week, we printed the same sheets of paper, however this time it was important to register, or line-up, the plate with the original print. we also used a new color of ink. We rinsed the foam again and filled in the positive space with lots of pencil marks, and then cut away the negative space with scissors.
On the third printing day, there is very little plate left. Again, we use another ink color and register the plate for printing over all the previous print layers. We also printed a couple of extra white sheets with our final plate design, just to see how much it had changed.
If you are a teacher looking for printmaking tips, here are some things that I have found to be really helpful...
1. Have students select printing papers and write names on them the week
before actual printing takes place - this gives you more time for printing and clean up on printing day.
2. Label the table covers with a sharpie - messy middles and clean corners! Inking occurs in the messy middle, while transferring ink to paper stays in the clean area. Printing papers should be stored under the clean corners.
3. Have students immediately take each print to the drying rack/area as they are pulled. Wet prints shouldn't be sitting around on the print table.
4. You control the ink. I walk around the entire time monitoring the process and refreshing ink trays as needed.
5. As soon as the first kids finish, they are the ink tray washers. They start collecting and washing ink trays as students are finishing up.
6. Fold over the table cover and save for the next day. I store mine on top of my drying rack. Use again and again.


 back
back