Showing posts with label clay. Show all posts

Tuesday, December 10, 2019

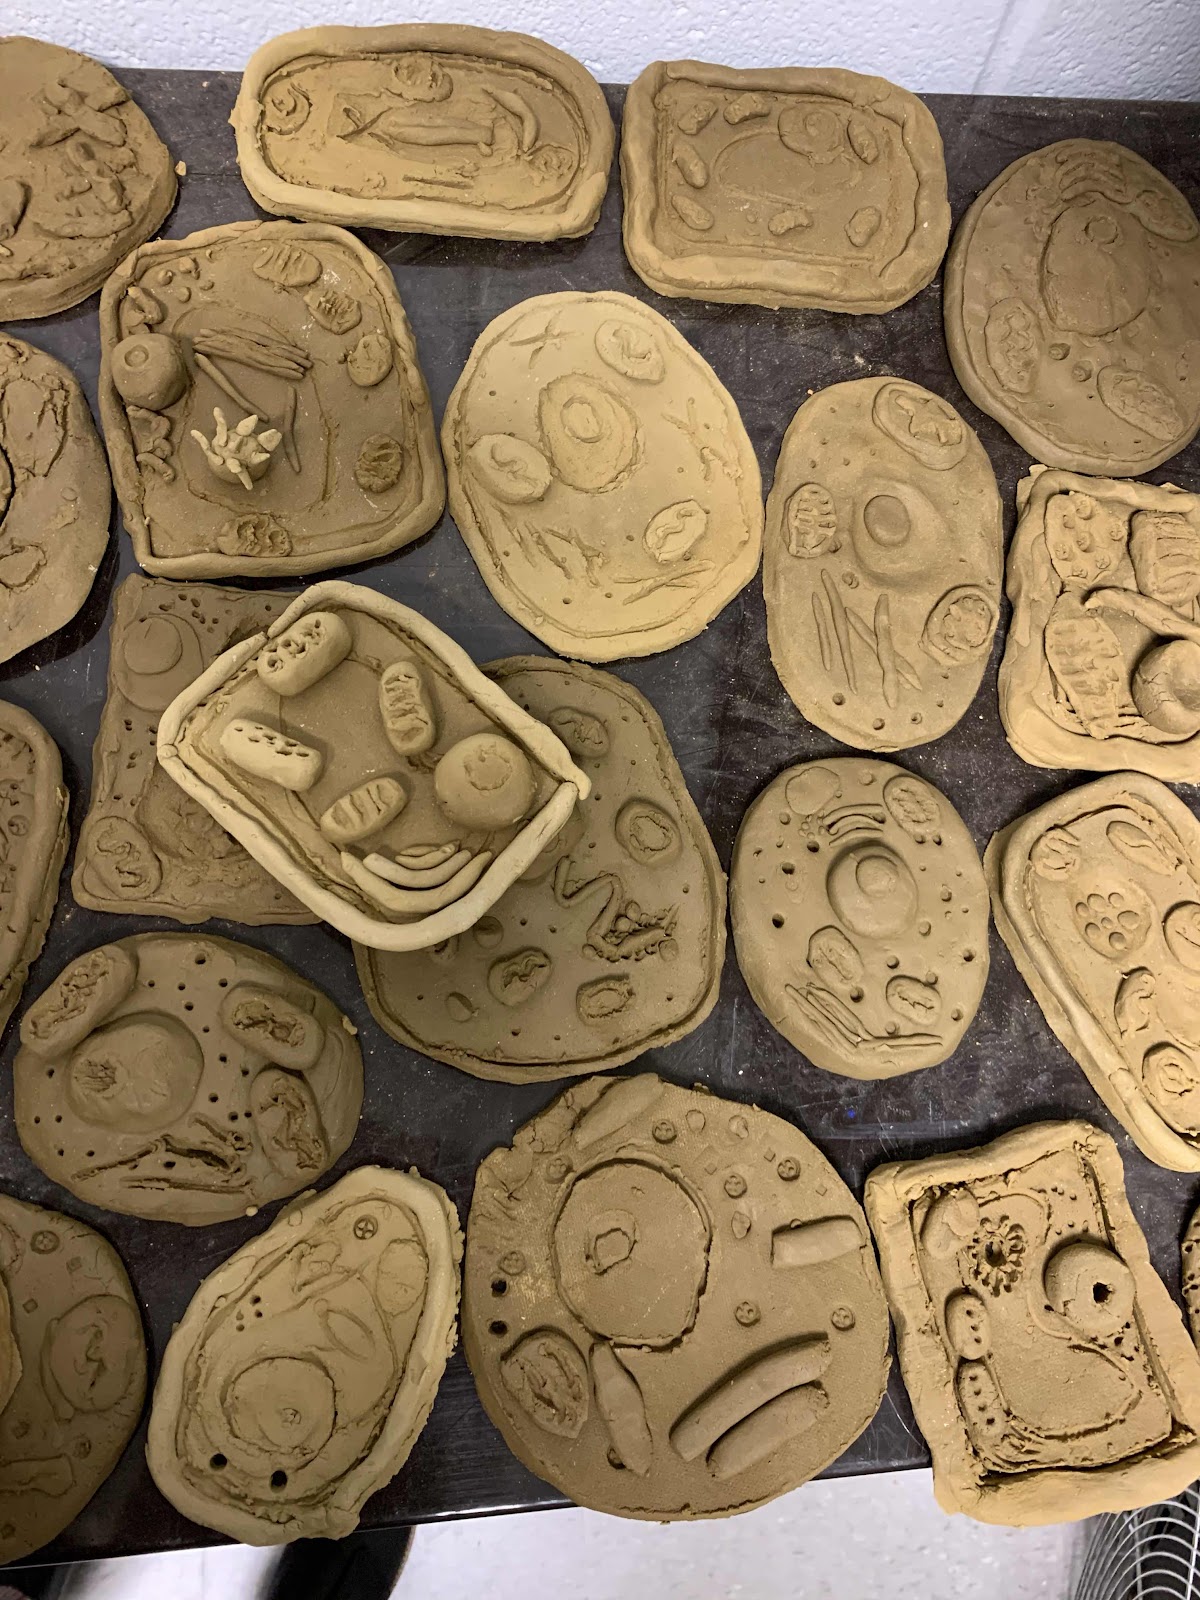
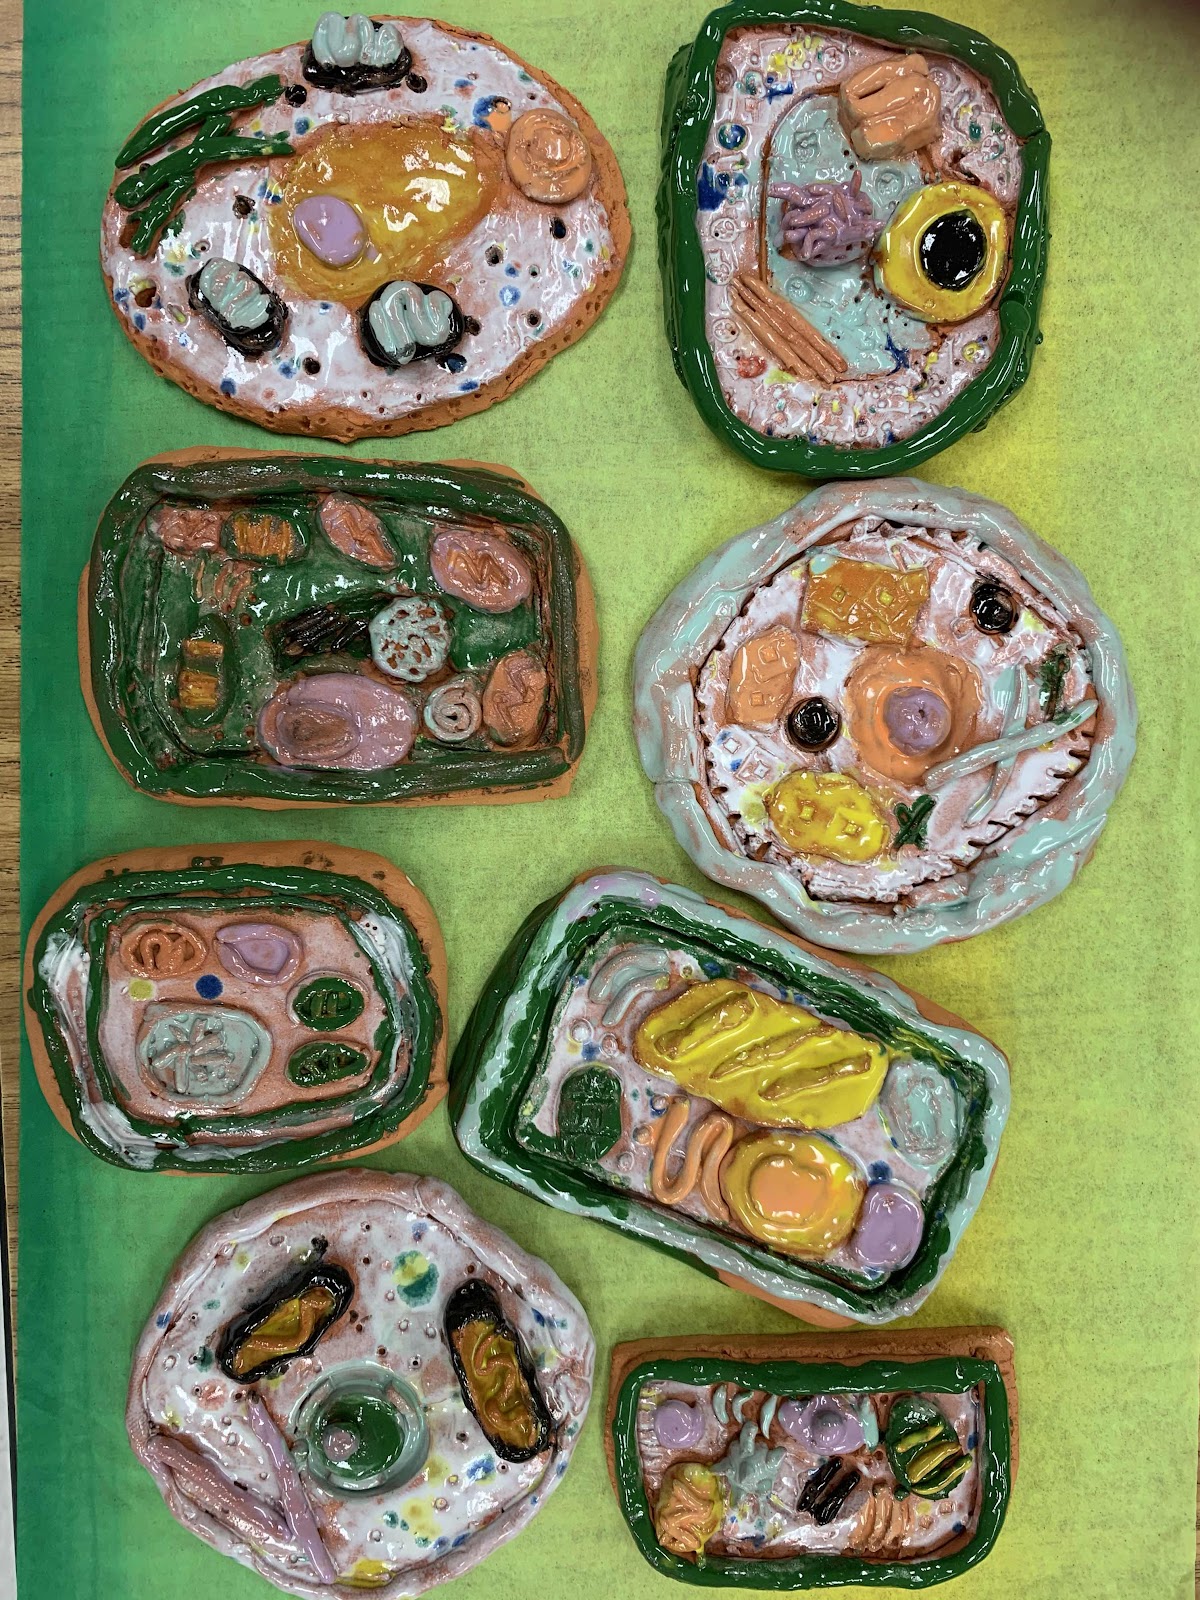
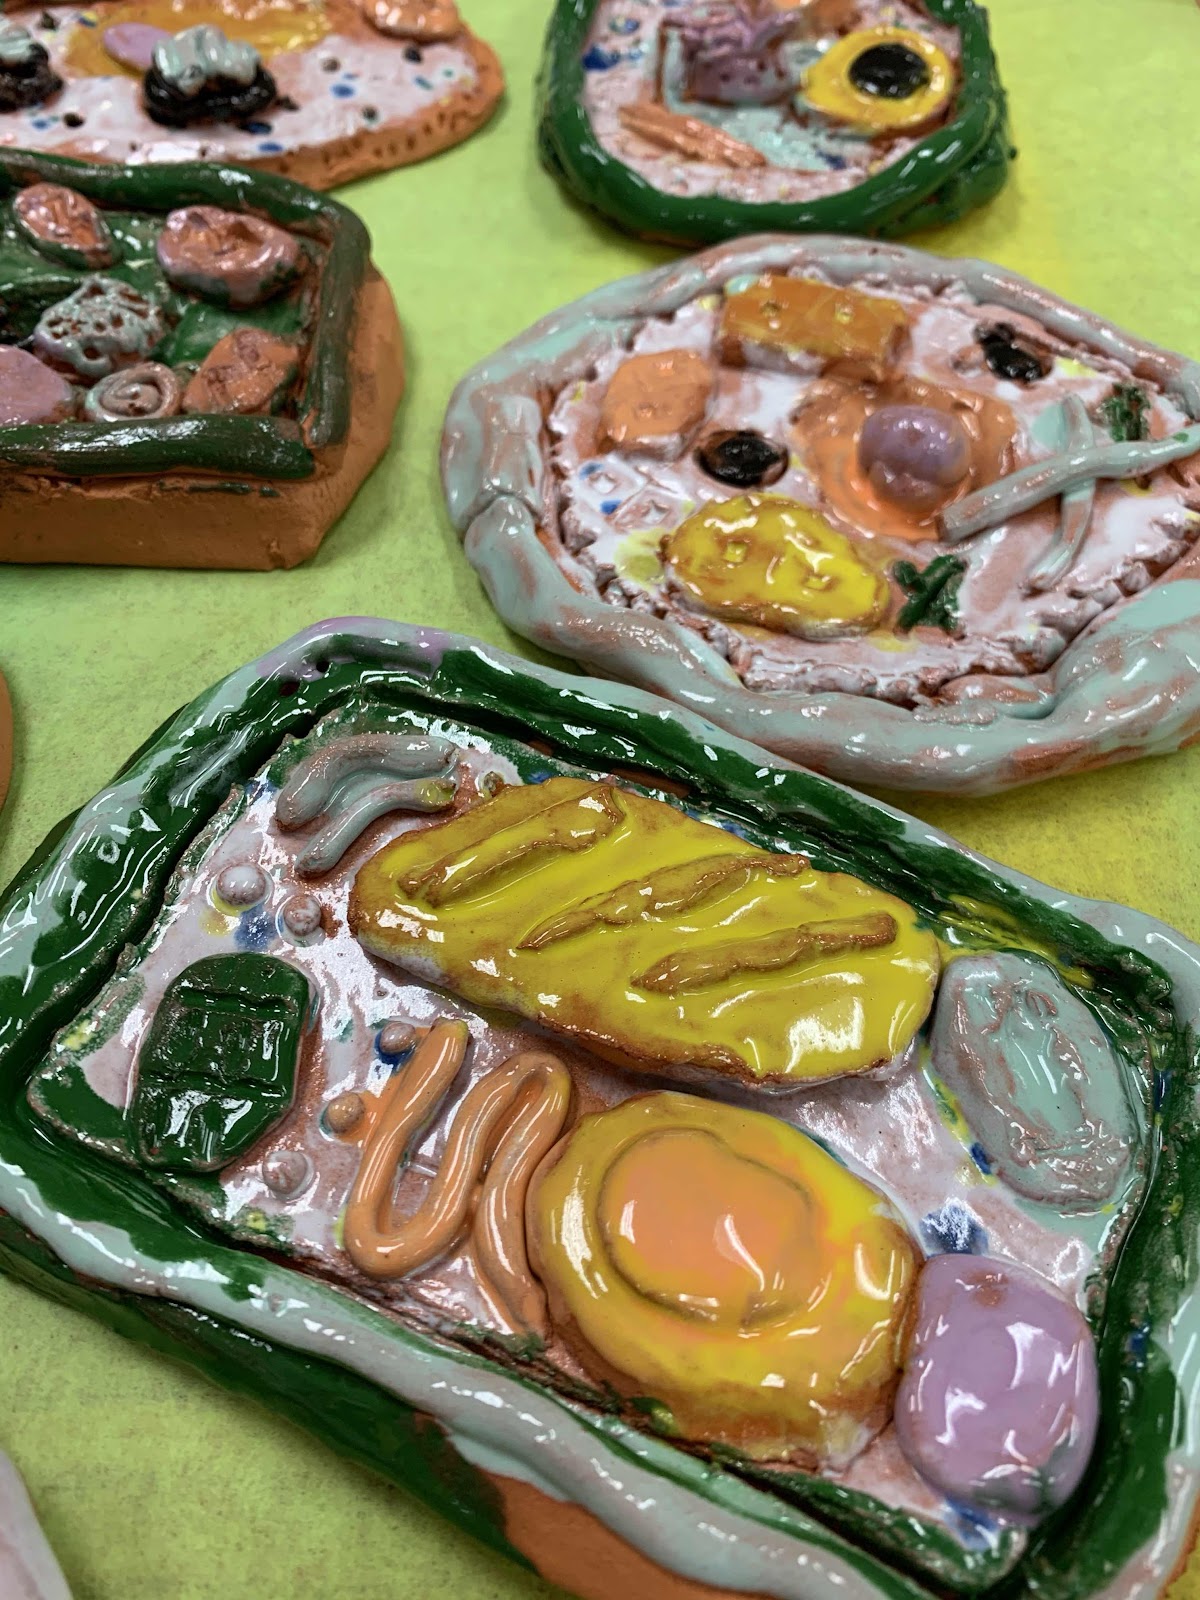
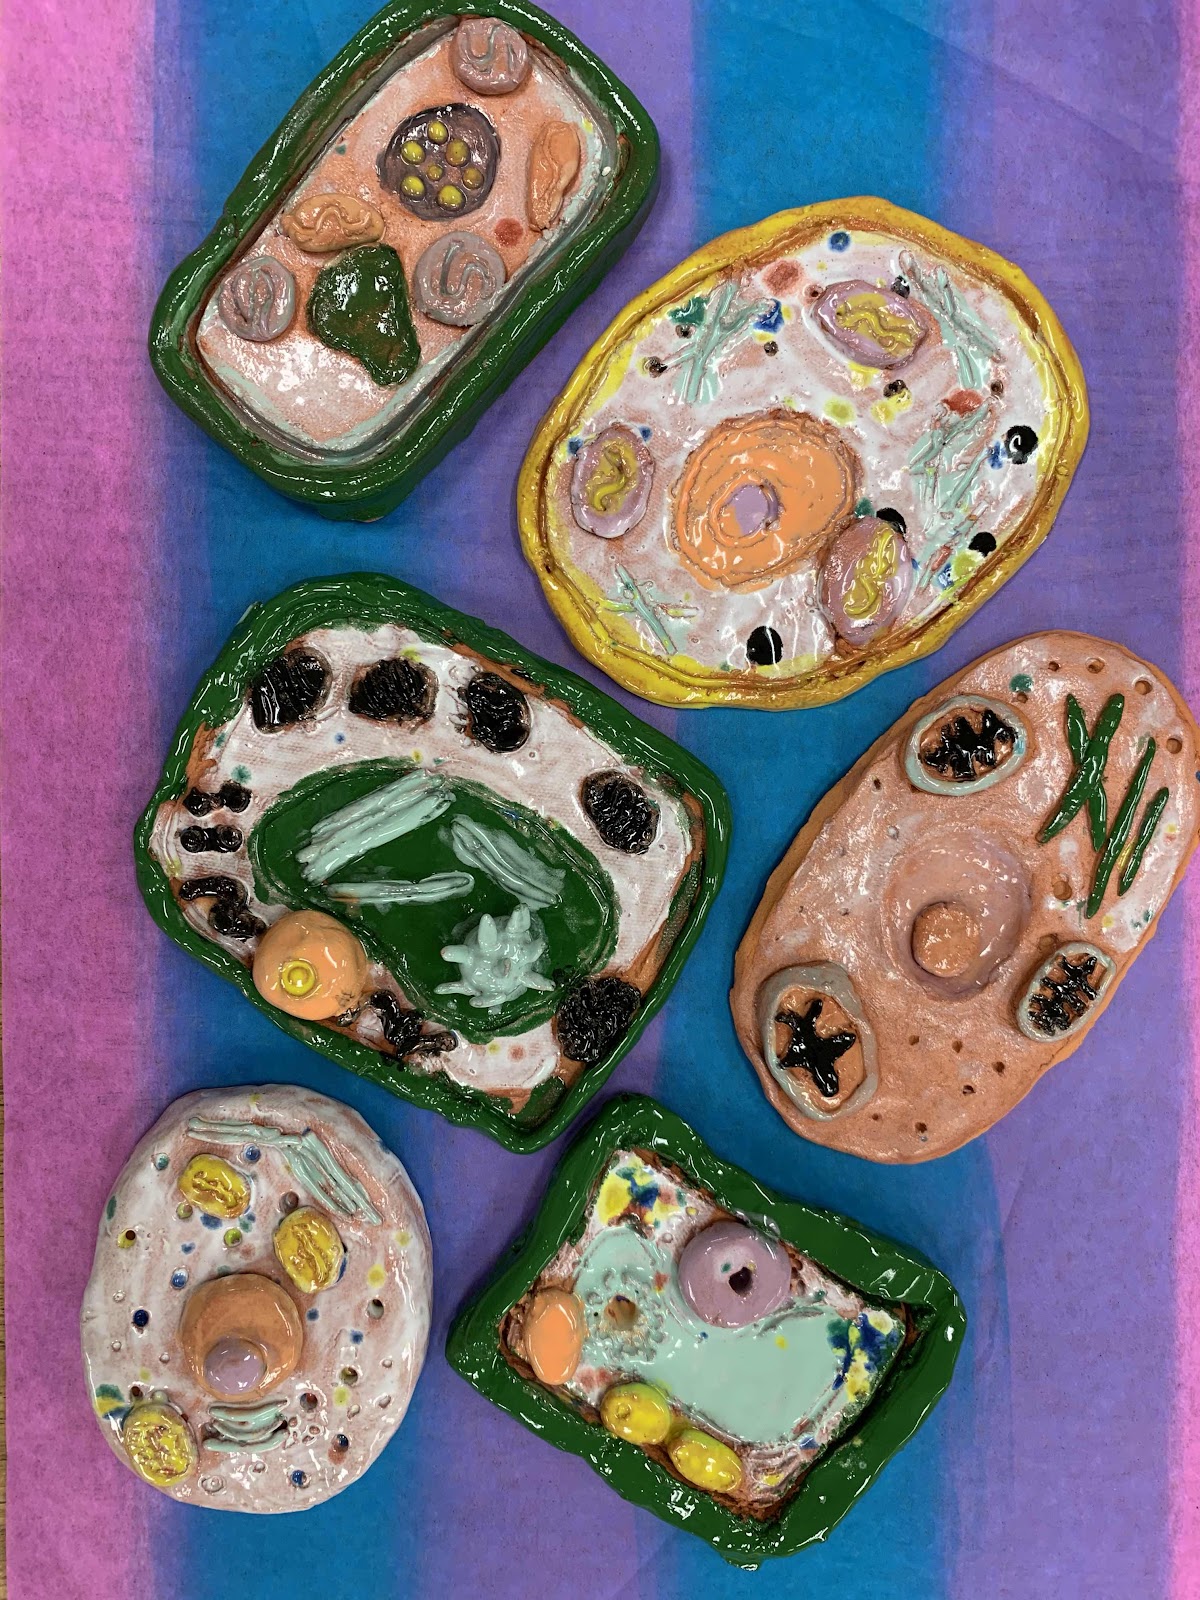
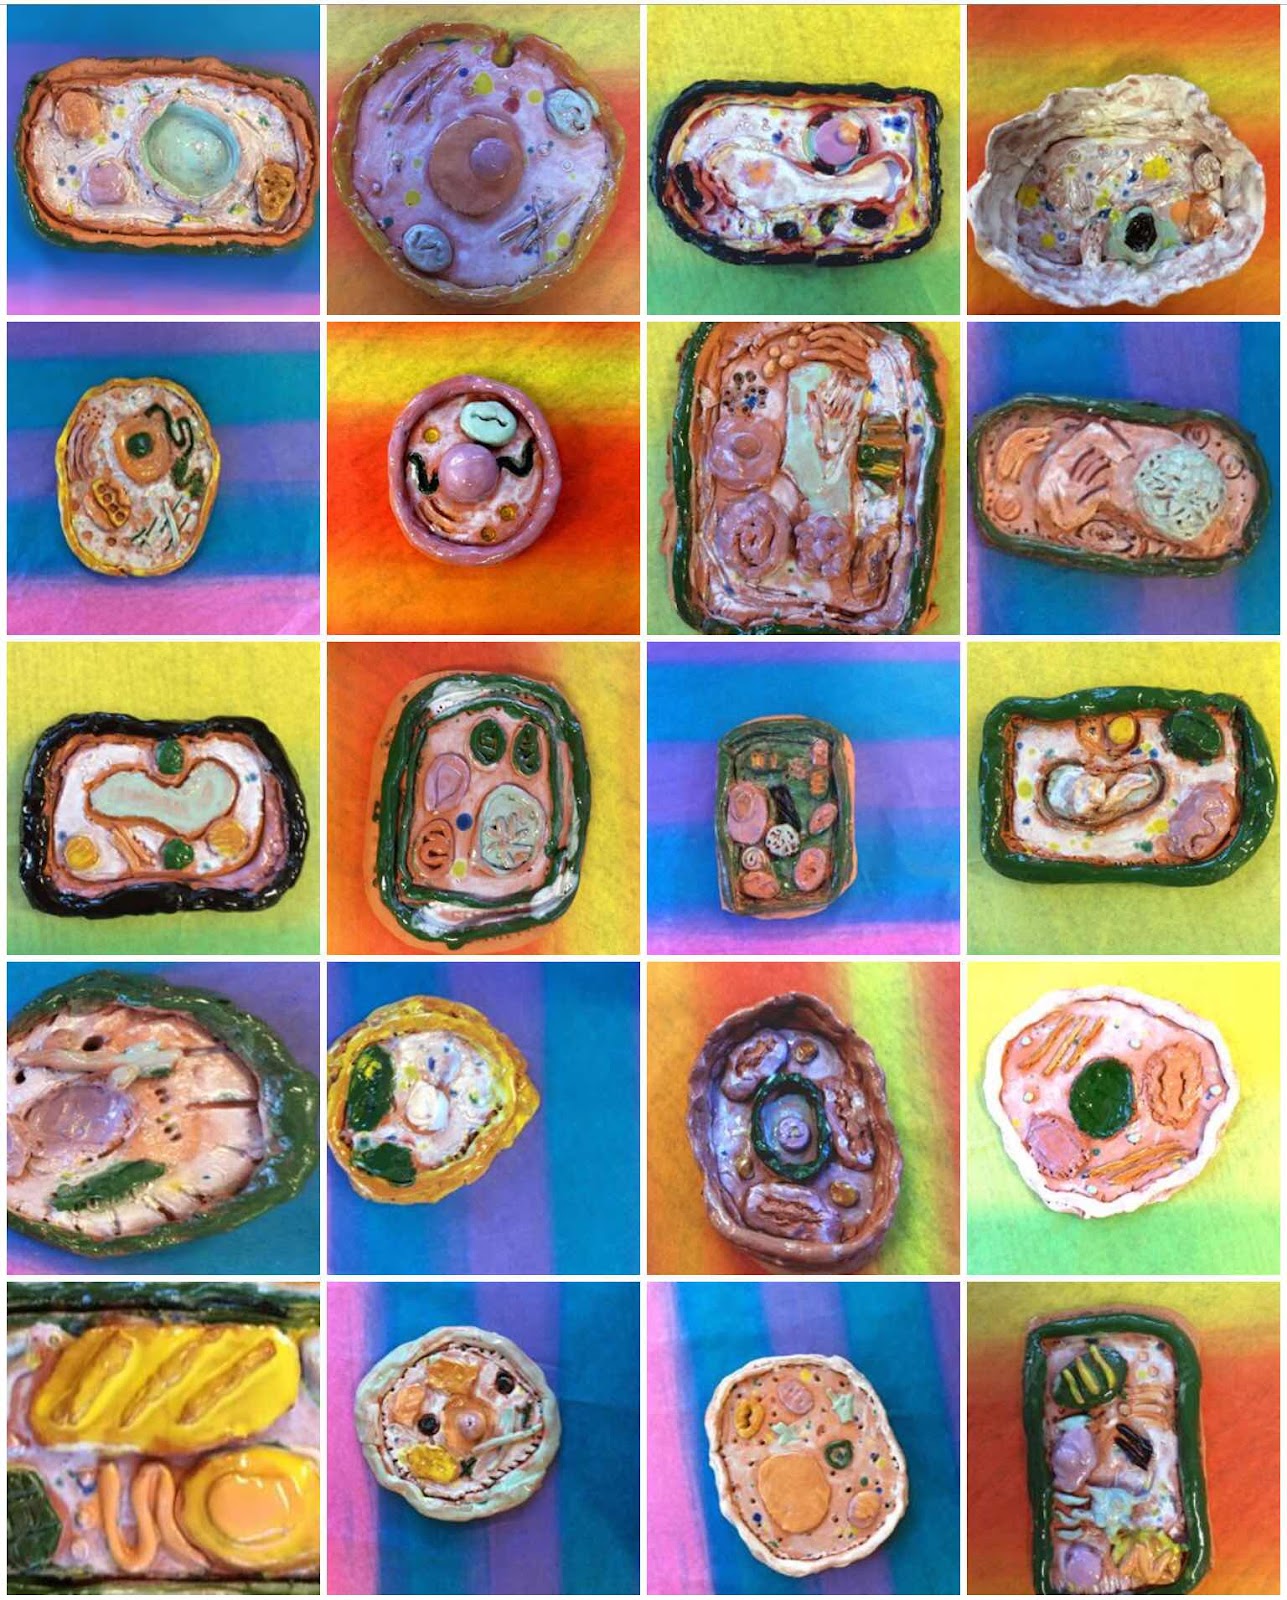
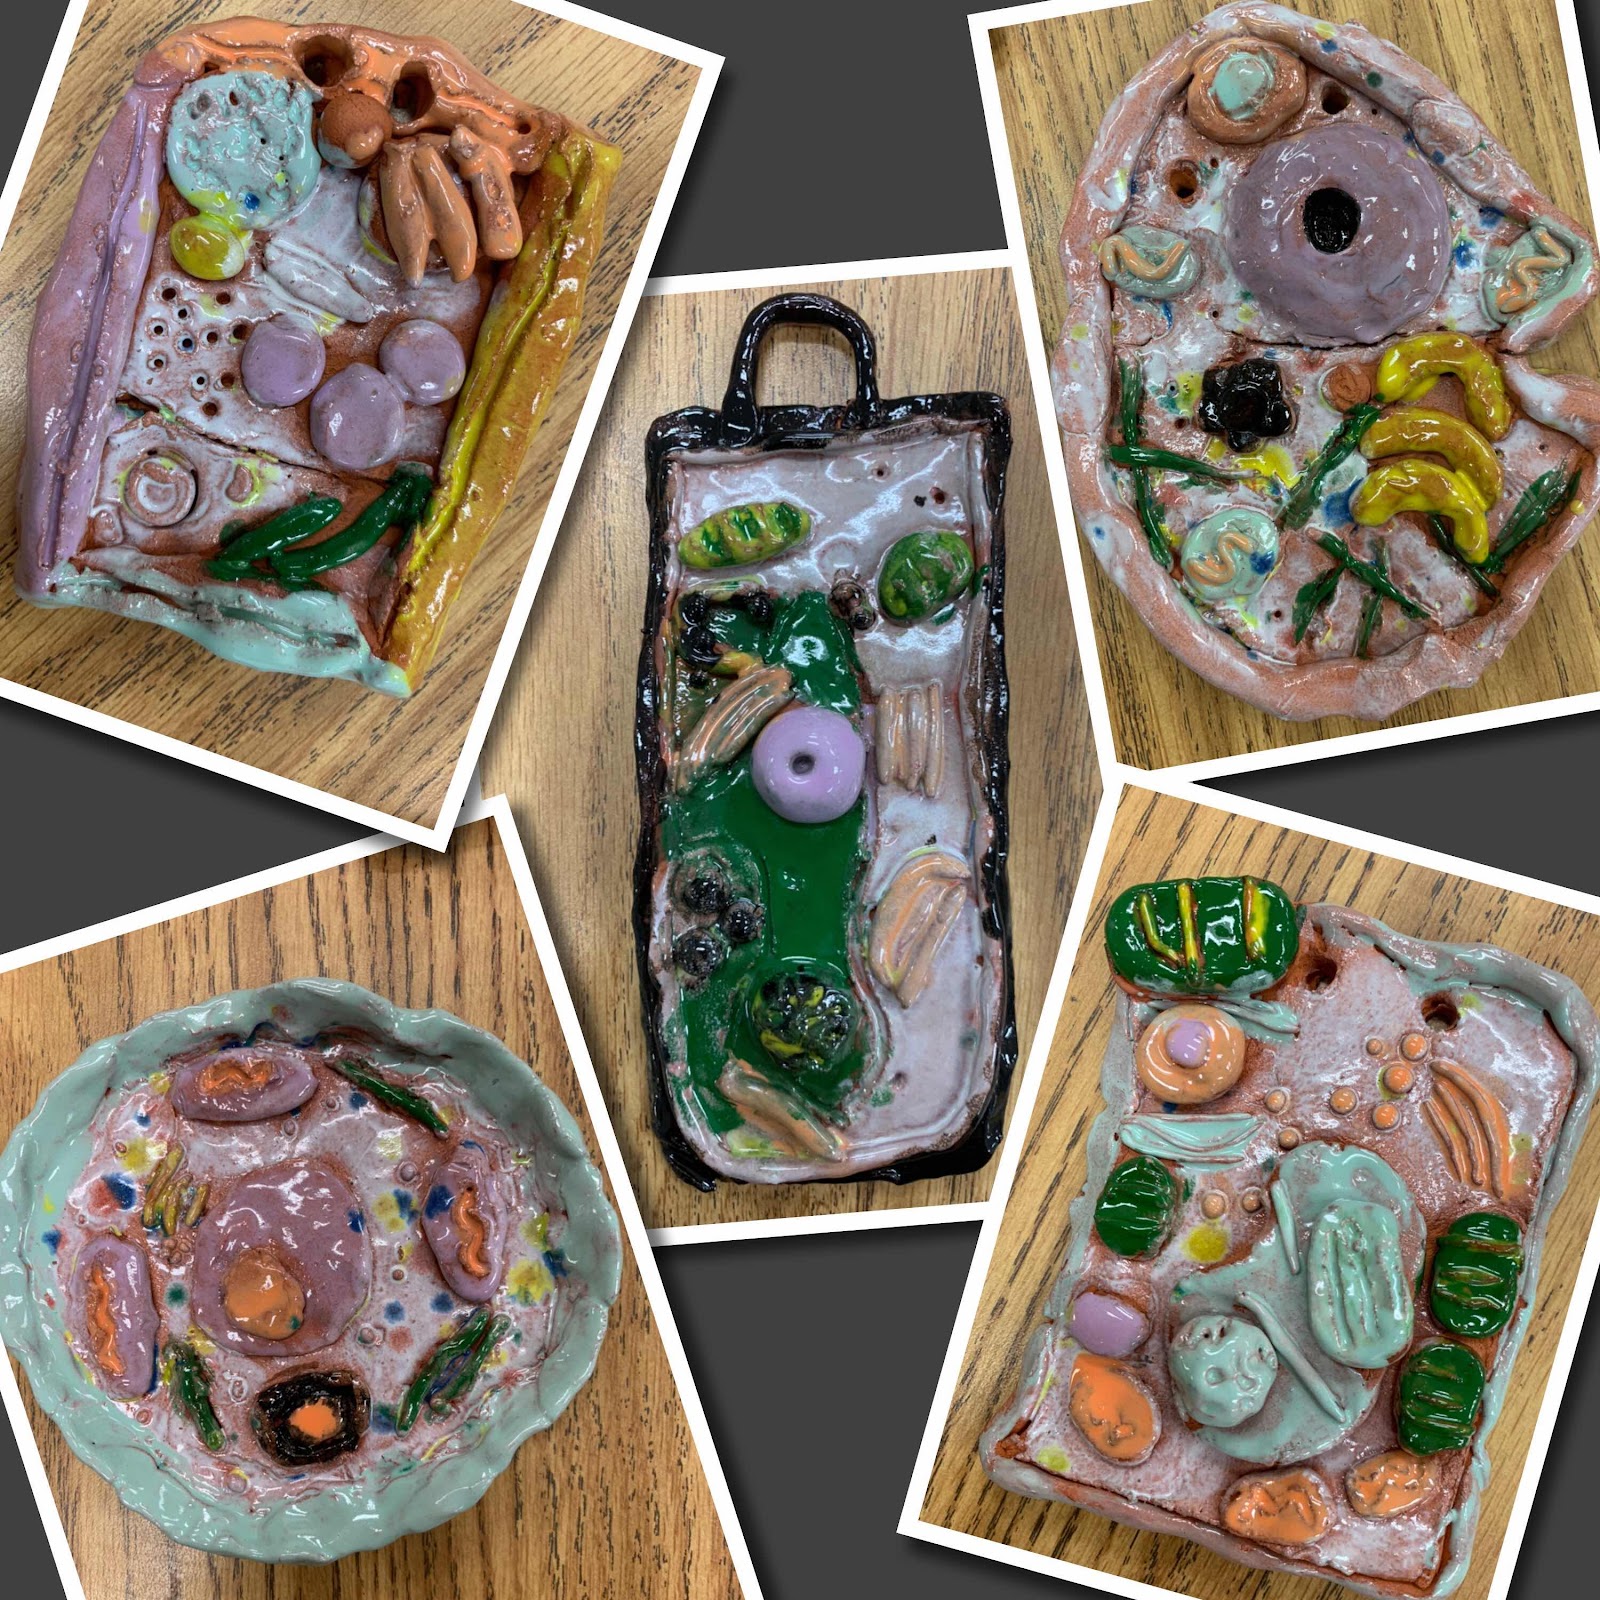
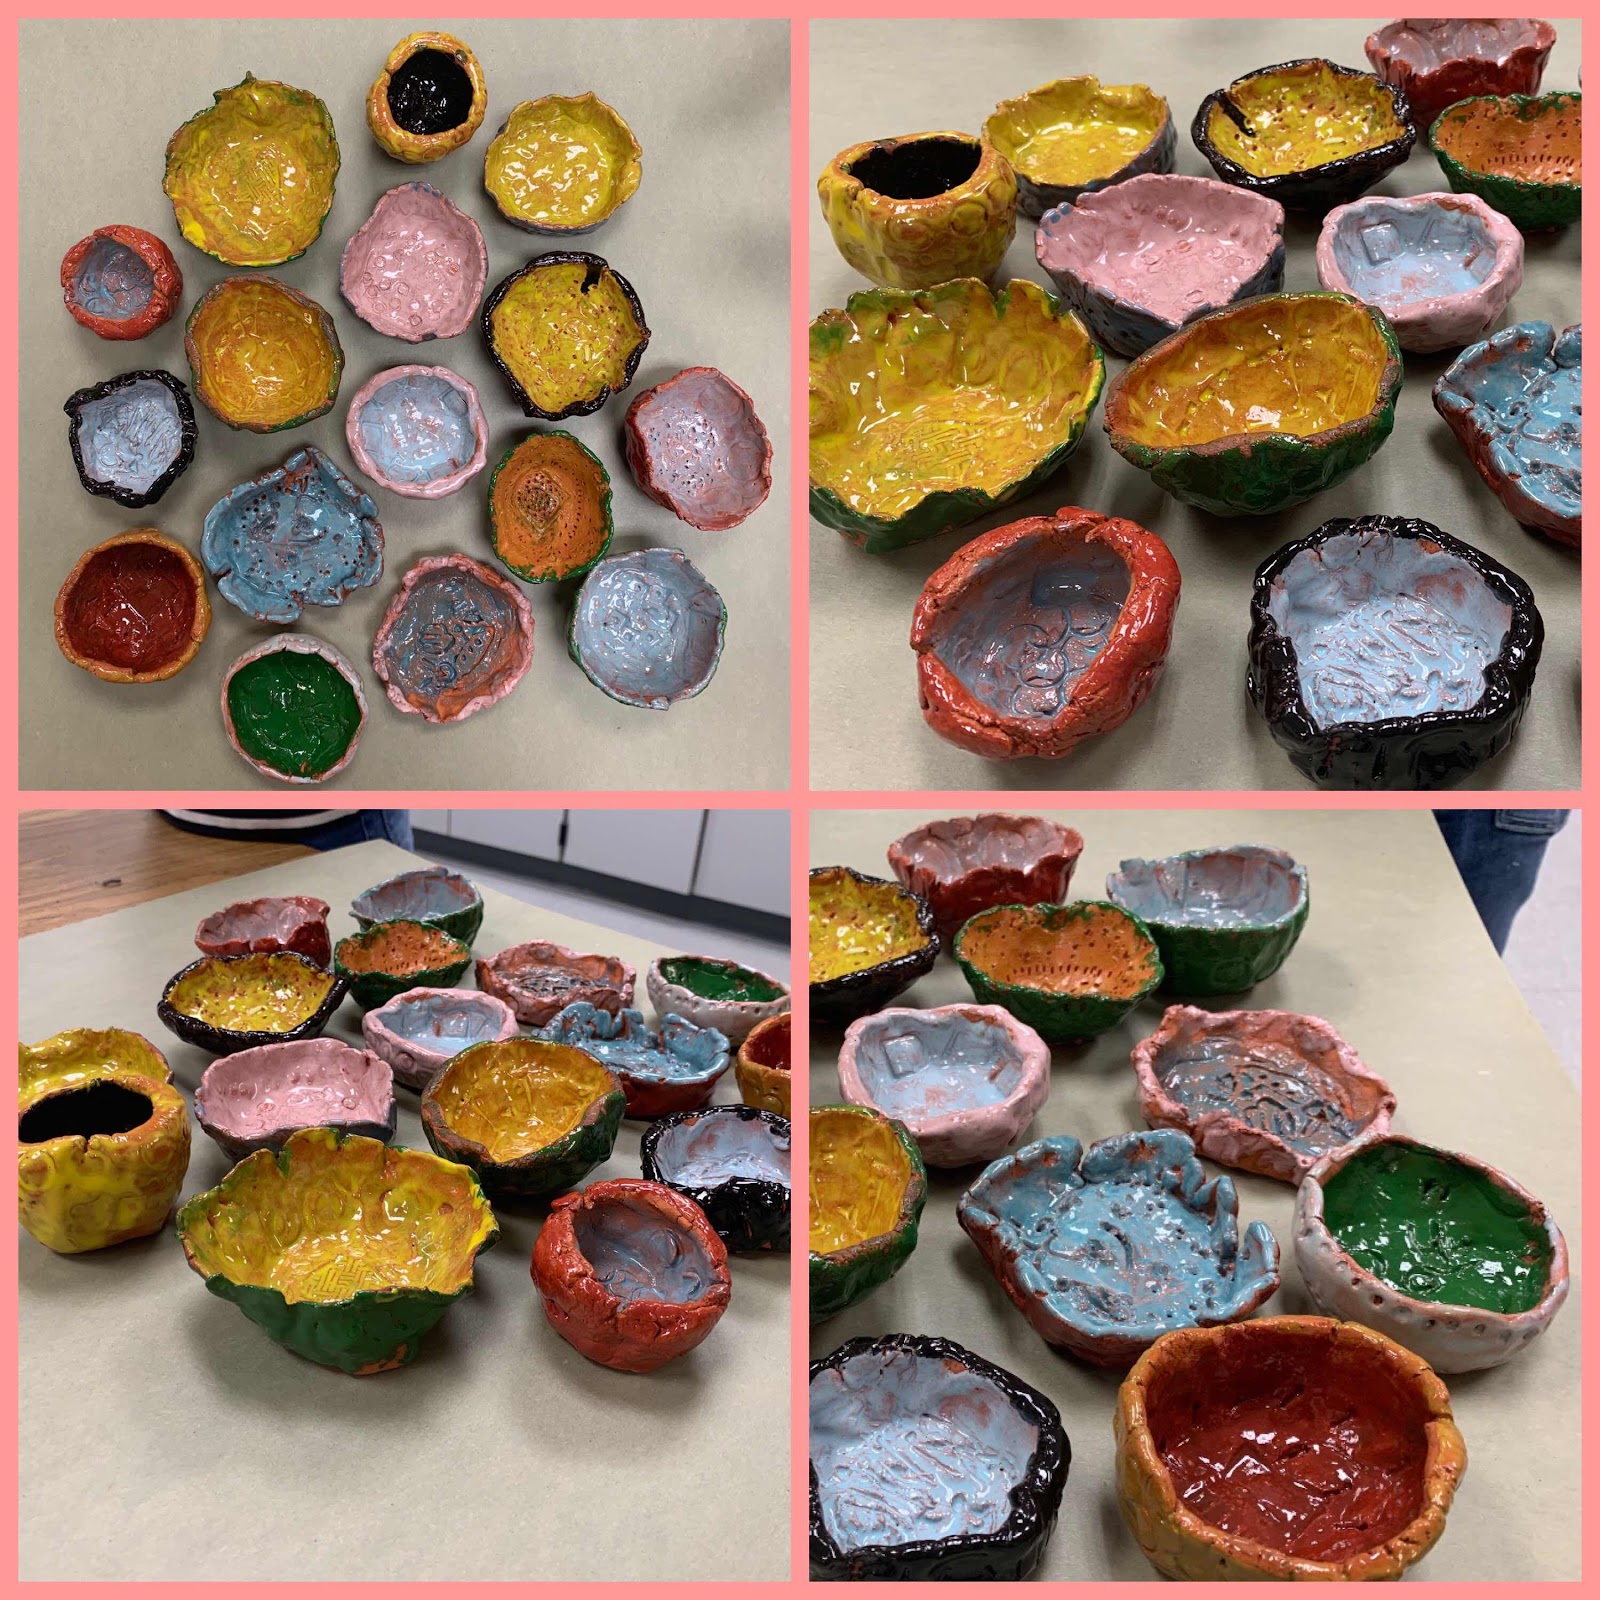
Clay cells in 5th grade

Fifth graders learn about the parts of a cell in science class, and if you think about it, a cell is very similar to abstract and nonobjective art - it is made up of shapes, lines, colors, and textures. We used clay techniques like slab, coil, modeling, adding, and subtracting clay. Students chose a plant or animal cell to illustrate on paper, then we created our clay cells that were glazed as a final step. I use Lizella clay, Crystaltex snow fire glaze, and Blick essentials gloss glazes.
This lesson was inspired by the work of @lasd_arts on Instagram.


Tuesday, November 26, 2019

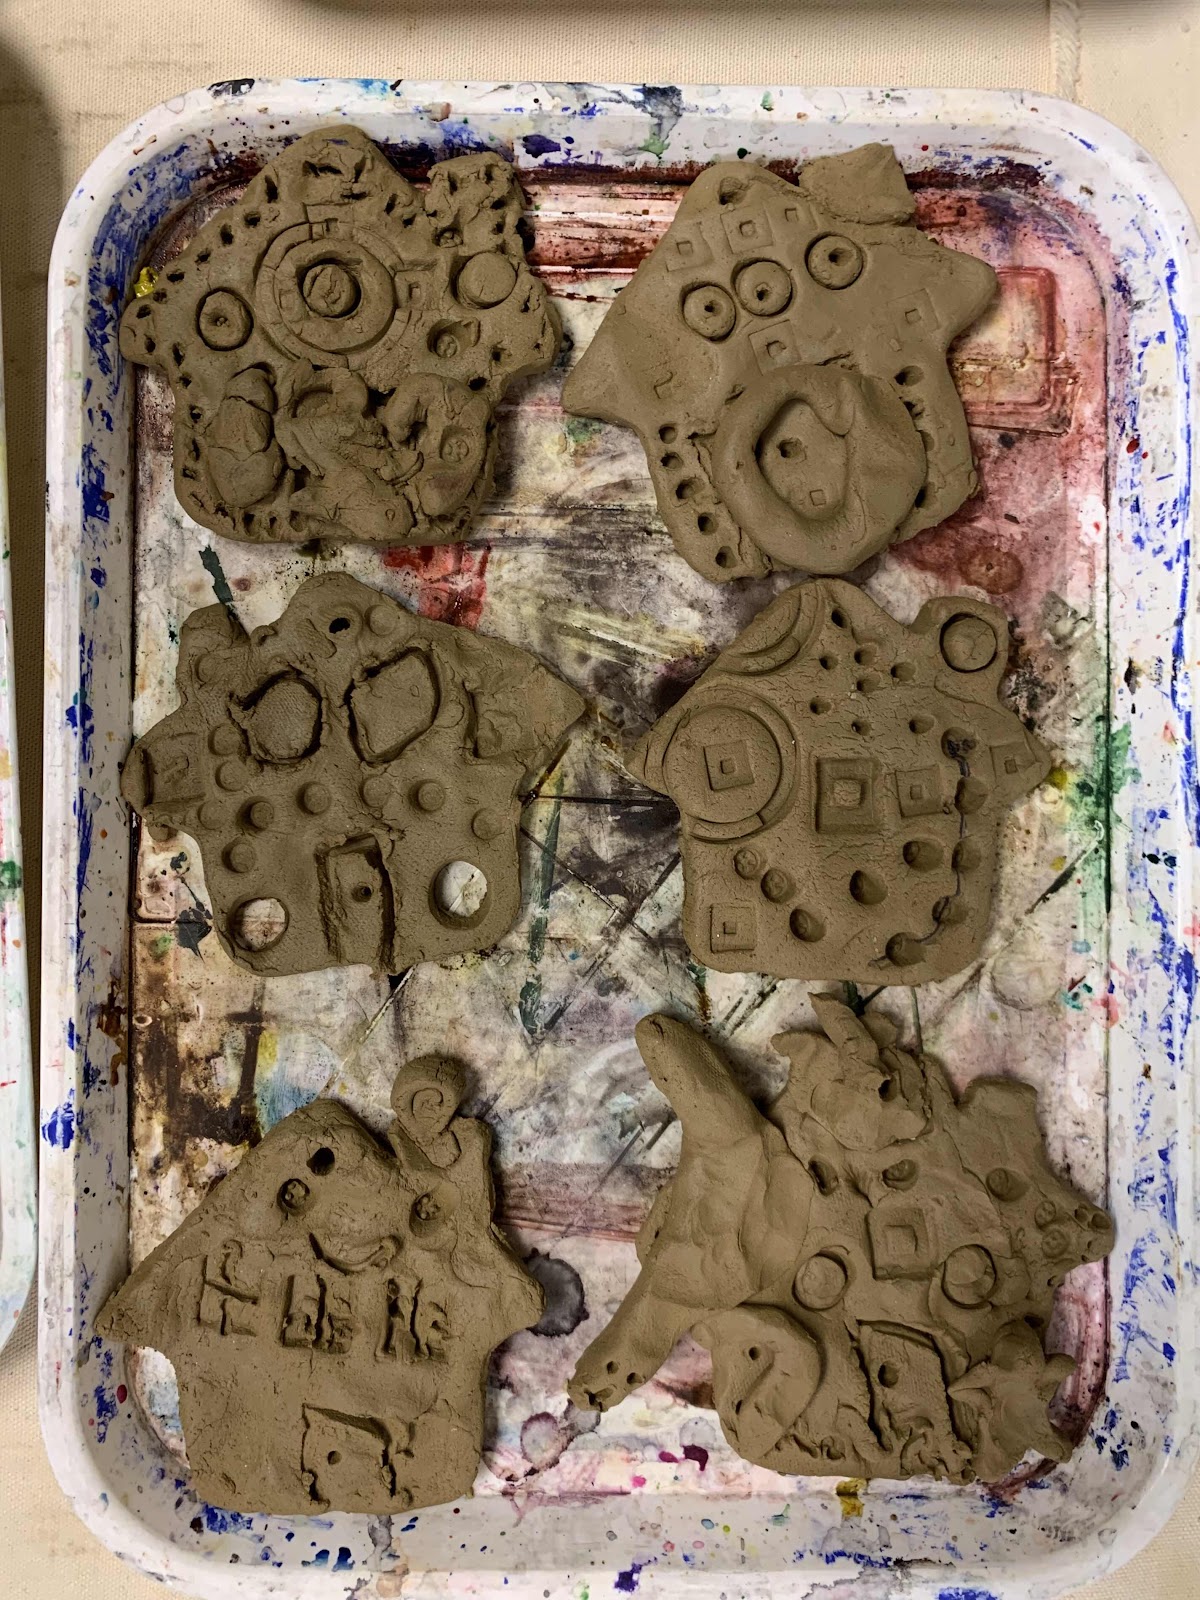
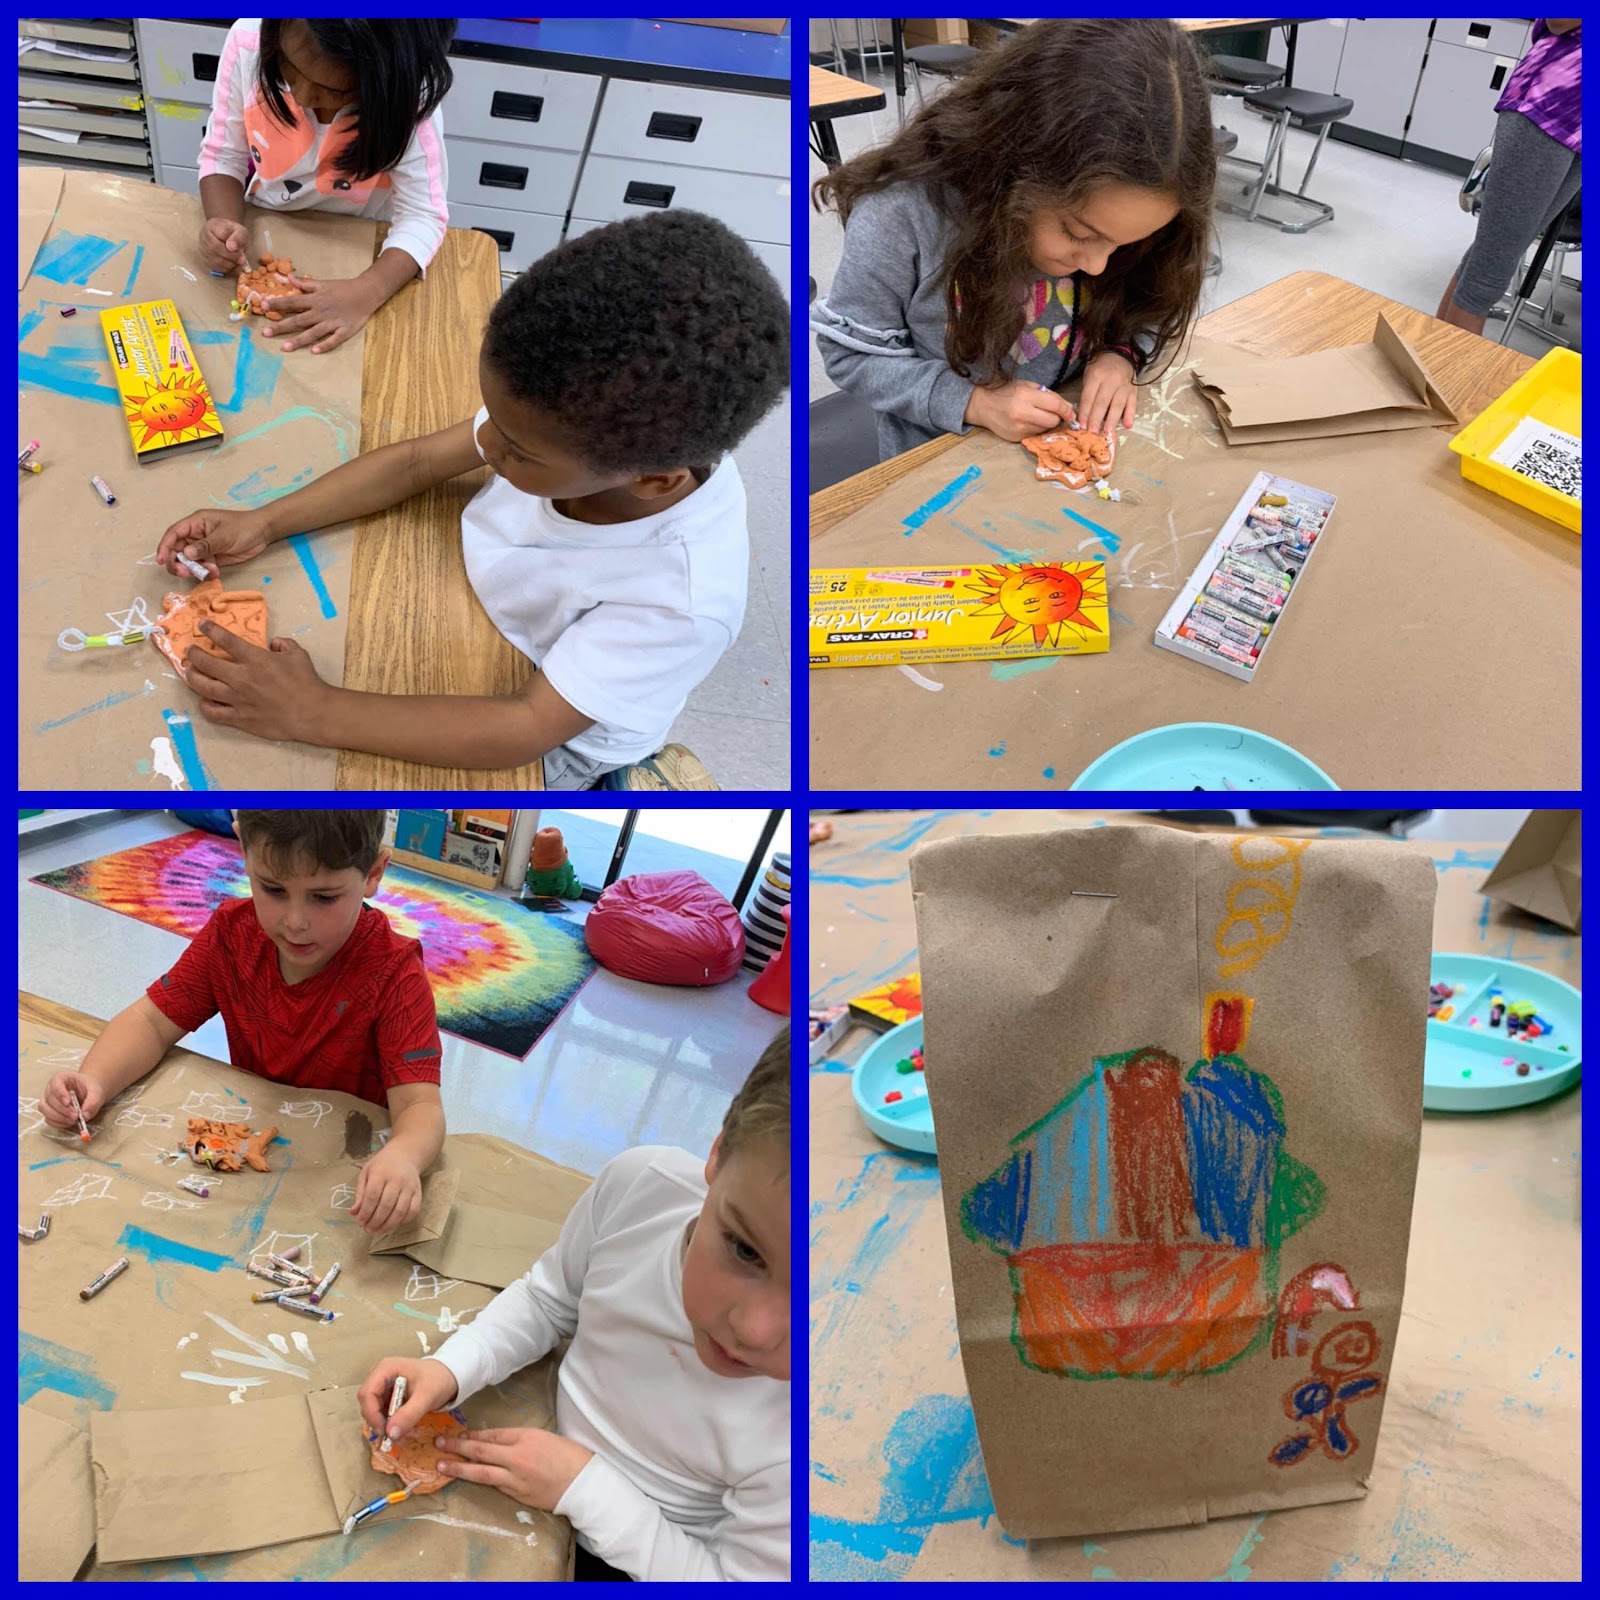
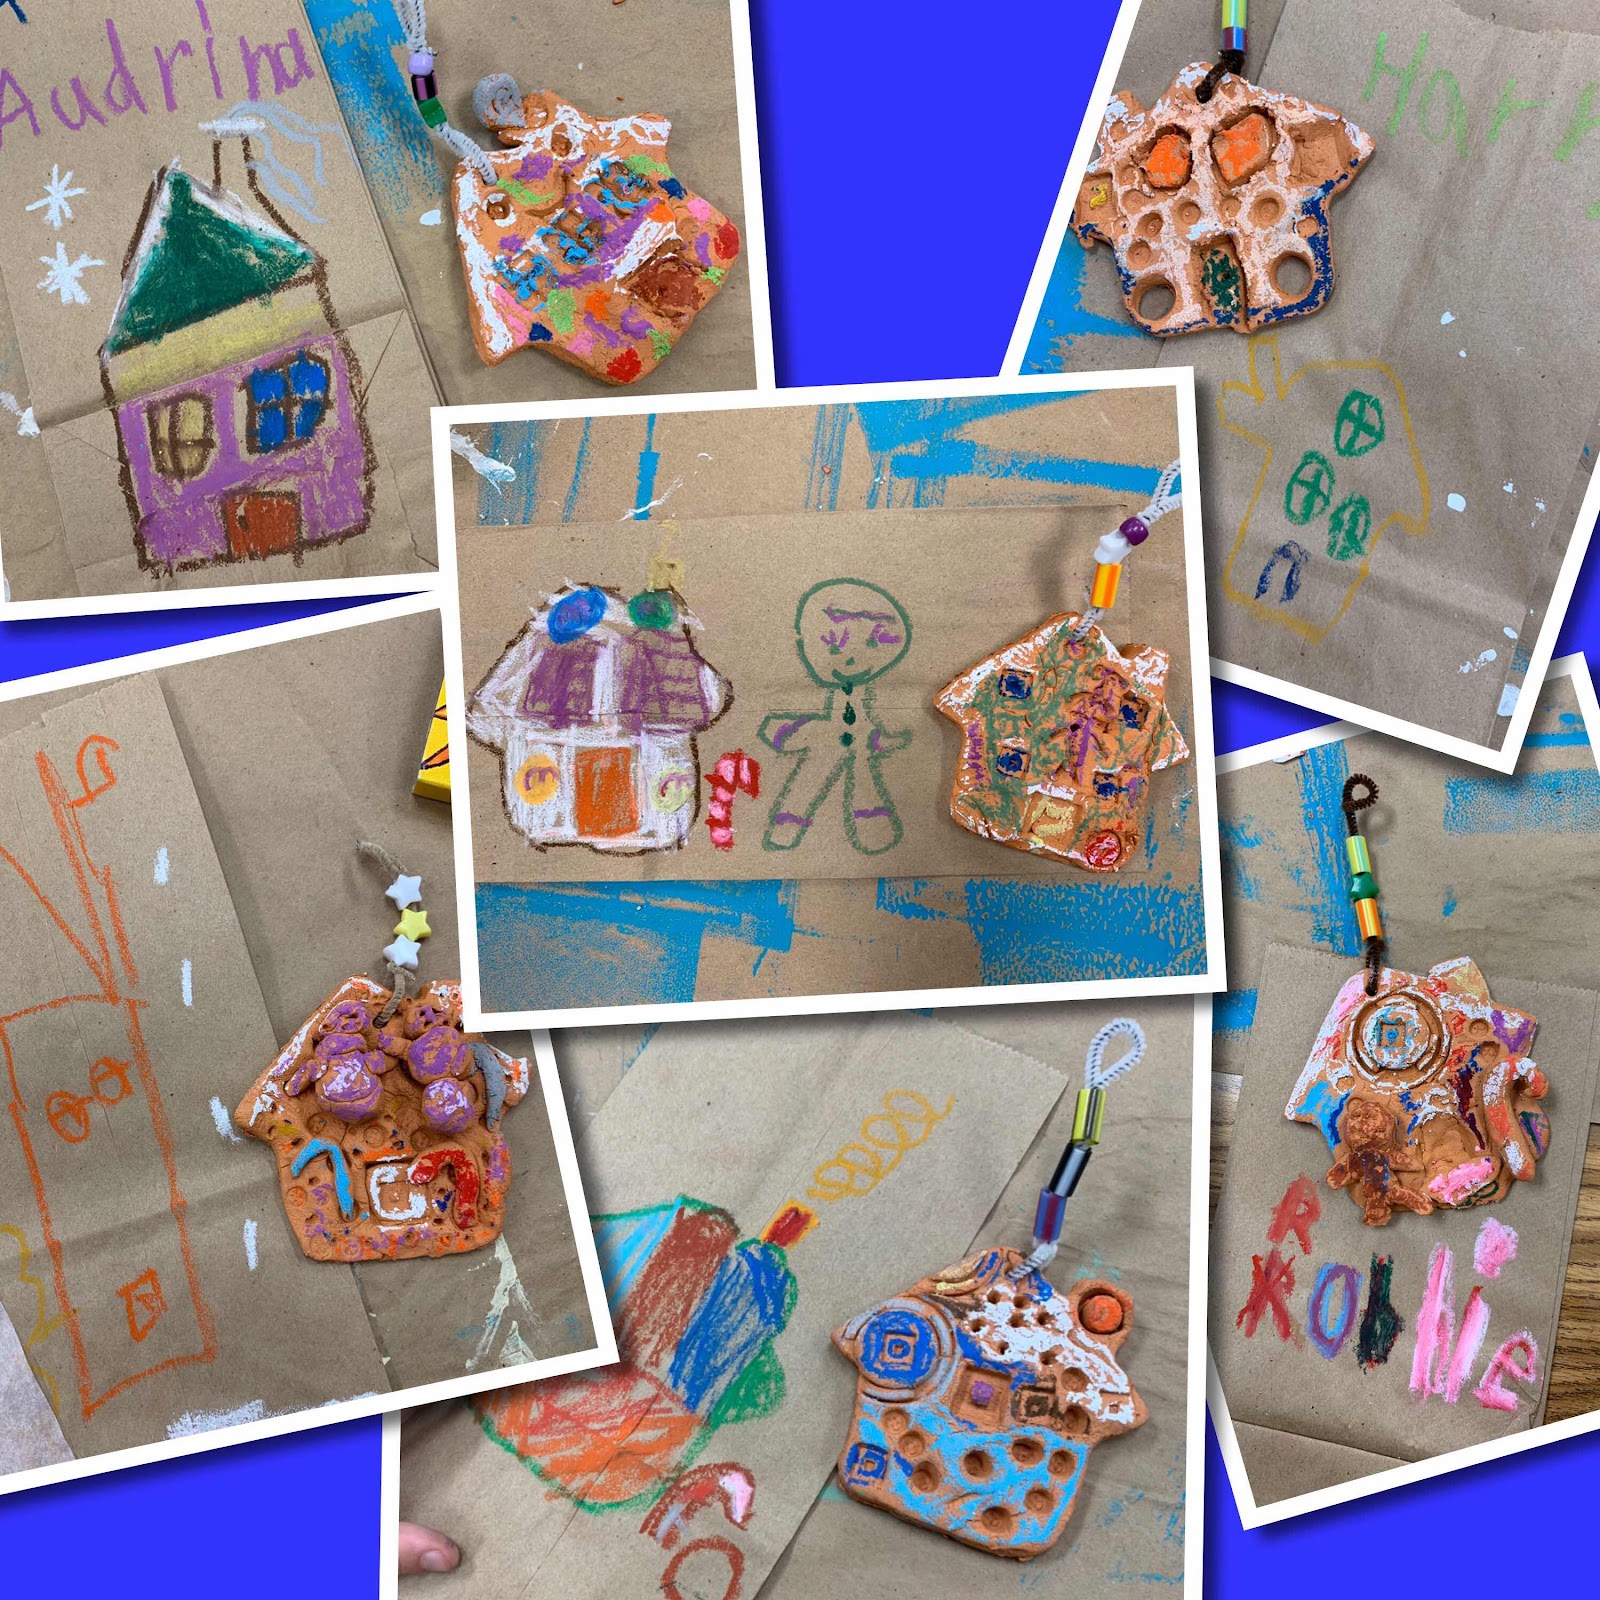
Kindergarten clay gingerbread houses


 Kindergartners really had fun experimenting with clay and we used a variety of hand building techniques to create our gingerbread houses. We added the color using oil pastels and we strung some beads from the hanger and decorated our to go bags. So cute!


Sunday, May 12, 2019

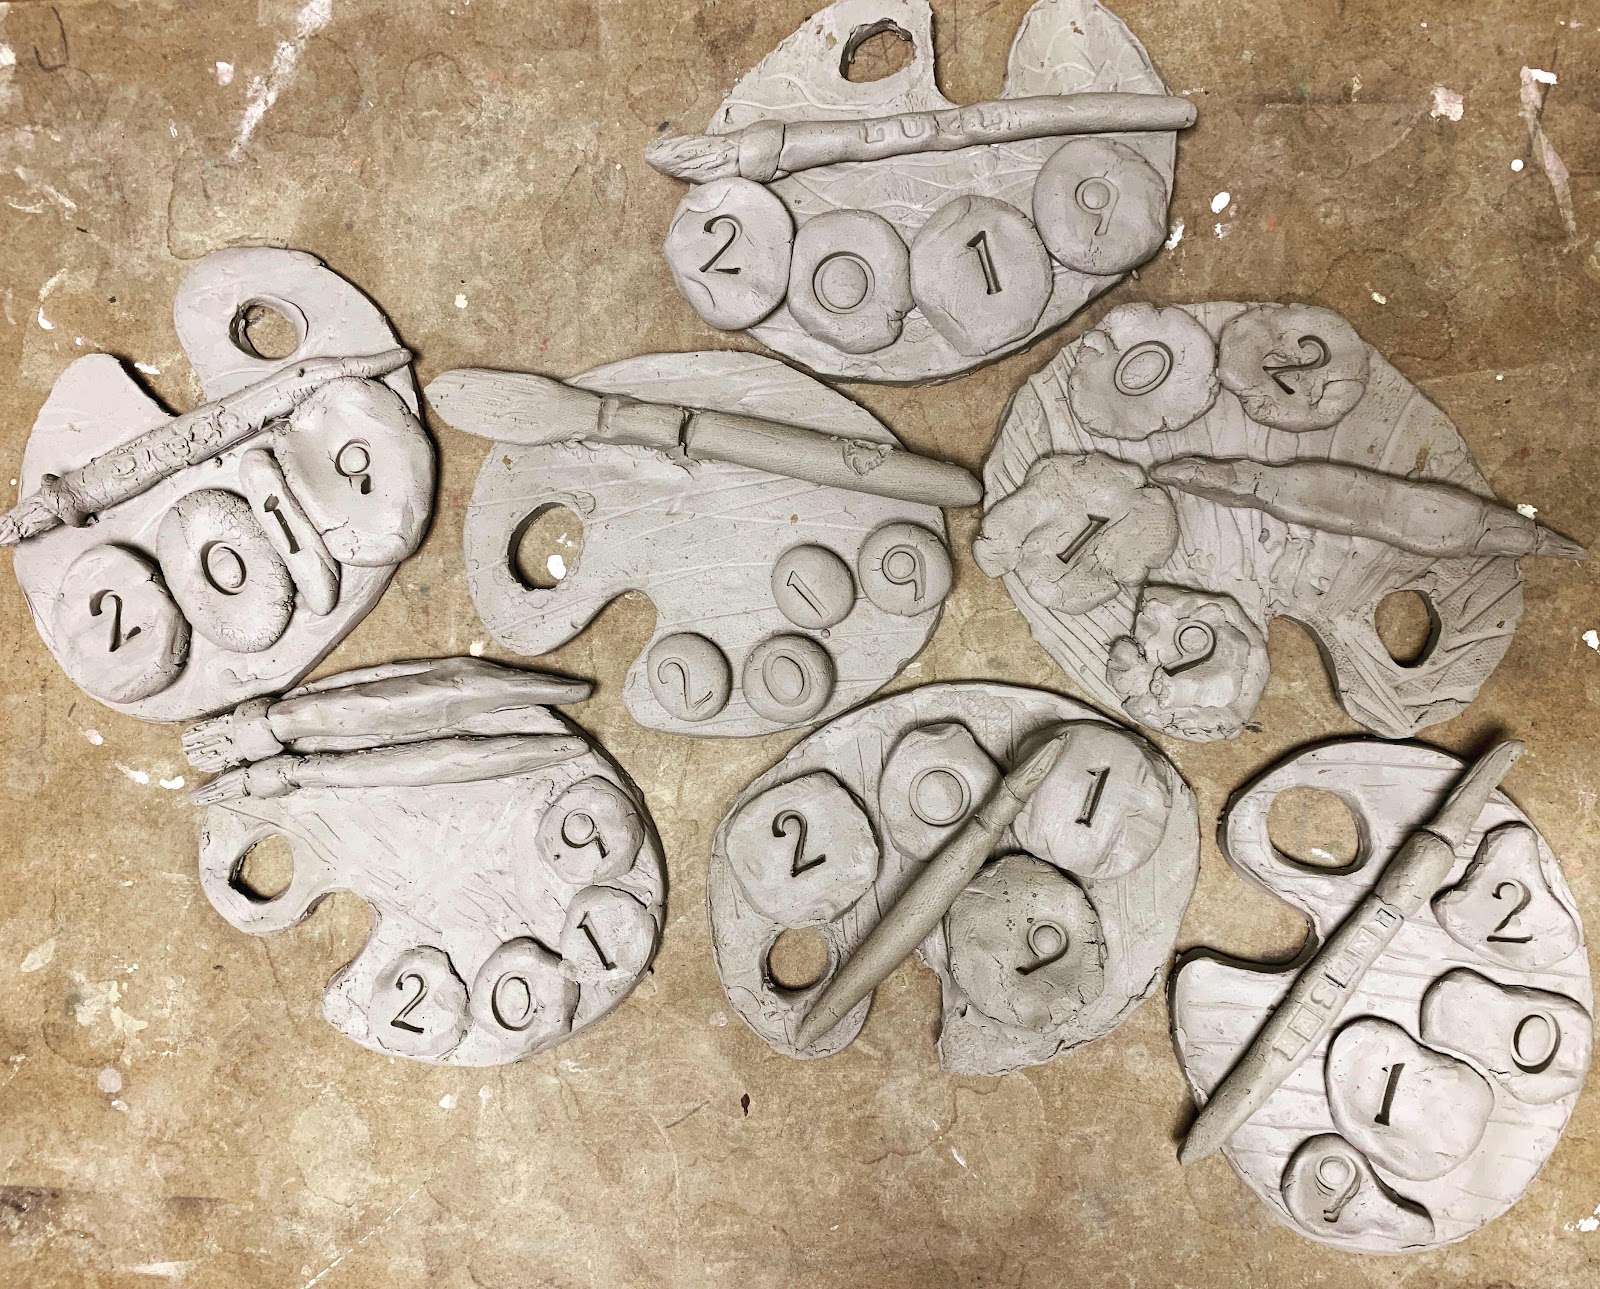
Clay palettes and pots

Time is flying by, and my final Clay Day of the year was a quick but fun clay painters palette for my older kids. Here they are in the first stage - more pics to come! Also, a few shots of some super cute first grade pinch pots.


Sunday, February 24, 2019

Clay Days


My Tuesday and Wednesday classes have recently completed their clay projects - they should be wrapped and carefully delivered home soon! I am really enjoying the change to clay days instead of "one grade level at a time" doing clay work. Due to storage limitations for 3-D work, we can only handle a limited amount of clay happening at one time. With clay days, I am able to keep the clay setup out all day long without having to clean up between classes, which has made things flow much better. Here are a few pics of what we've been building - I dropped the ball on getting process pics, but I blame my constantly clay-coated hands. We build on our skills each year, starting out with pinching, pressing textures, coiling, modeling, joining, rolling slabs, and glazing.
First graders enjoyed pinching pots while learning about the global history and natural qualities of clay.

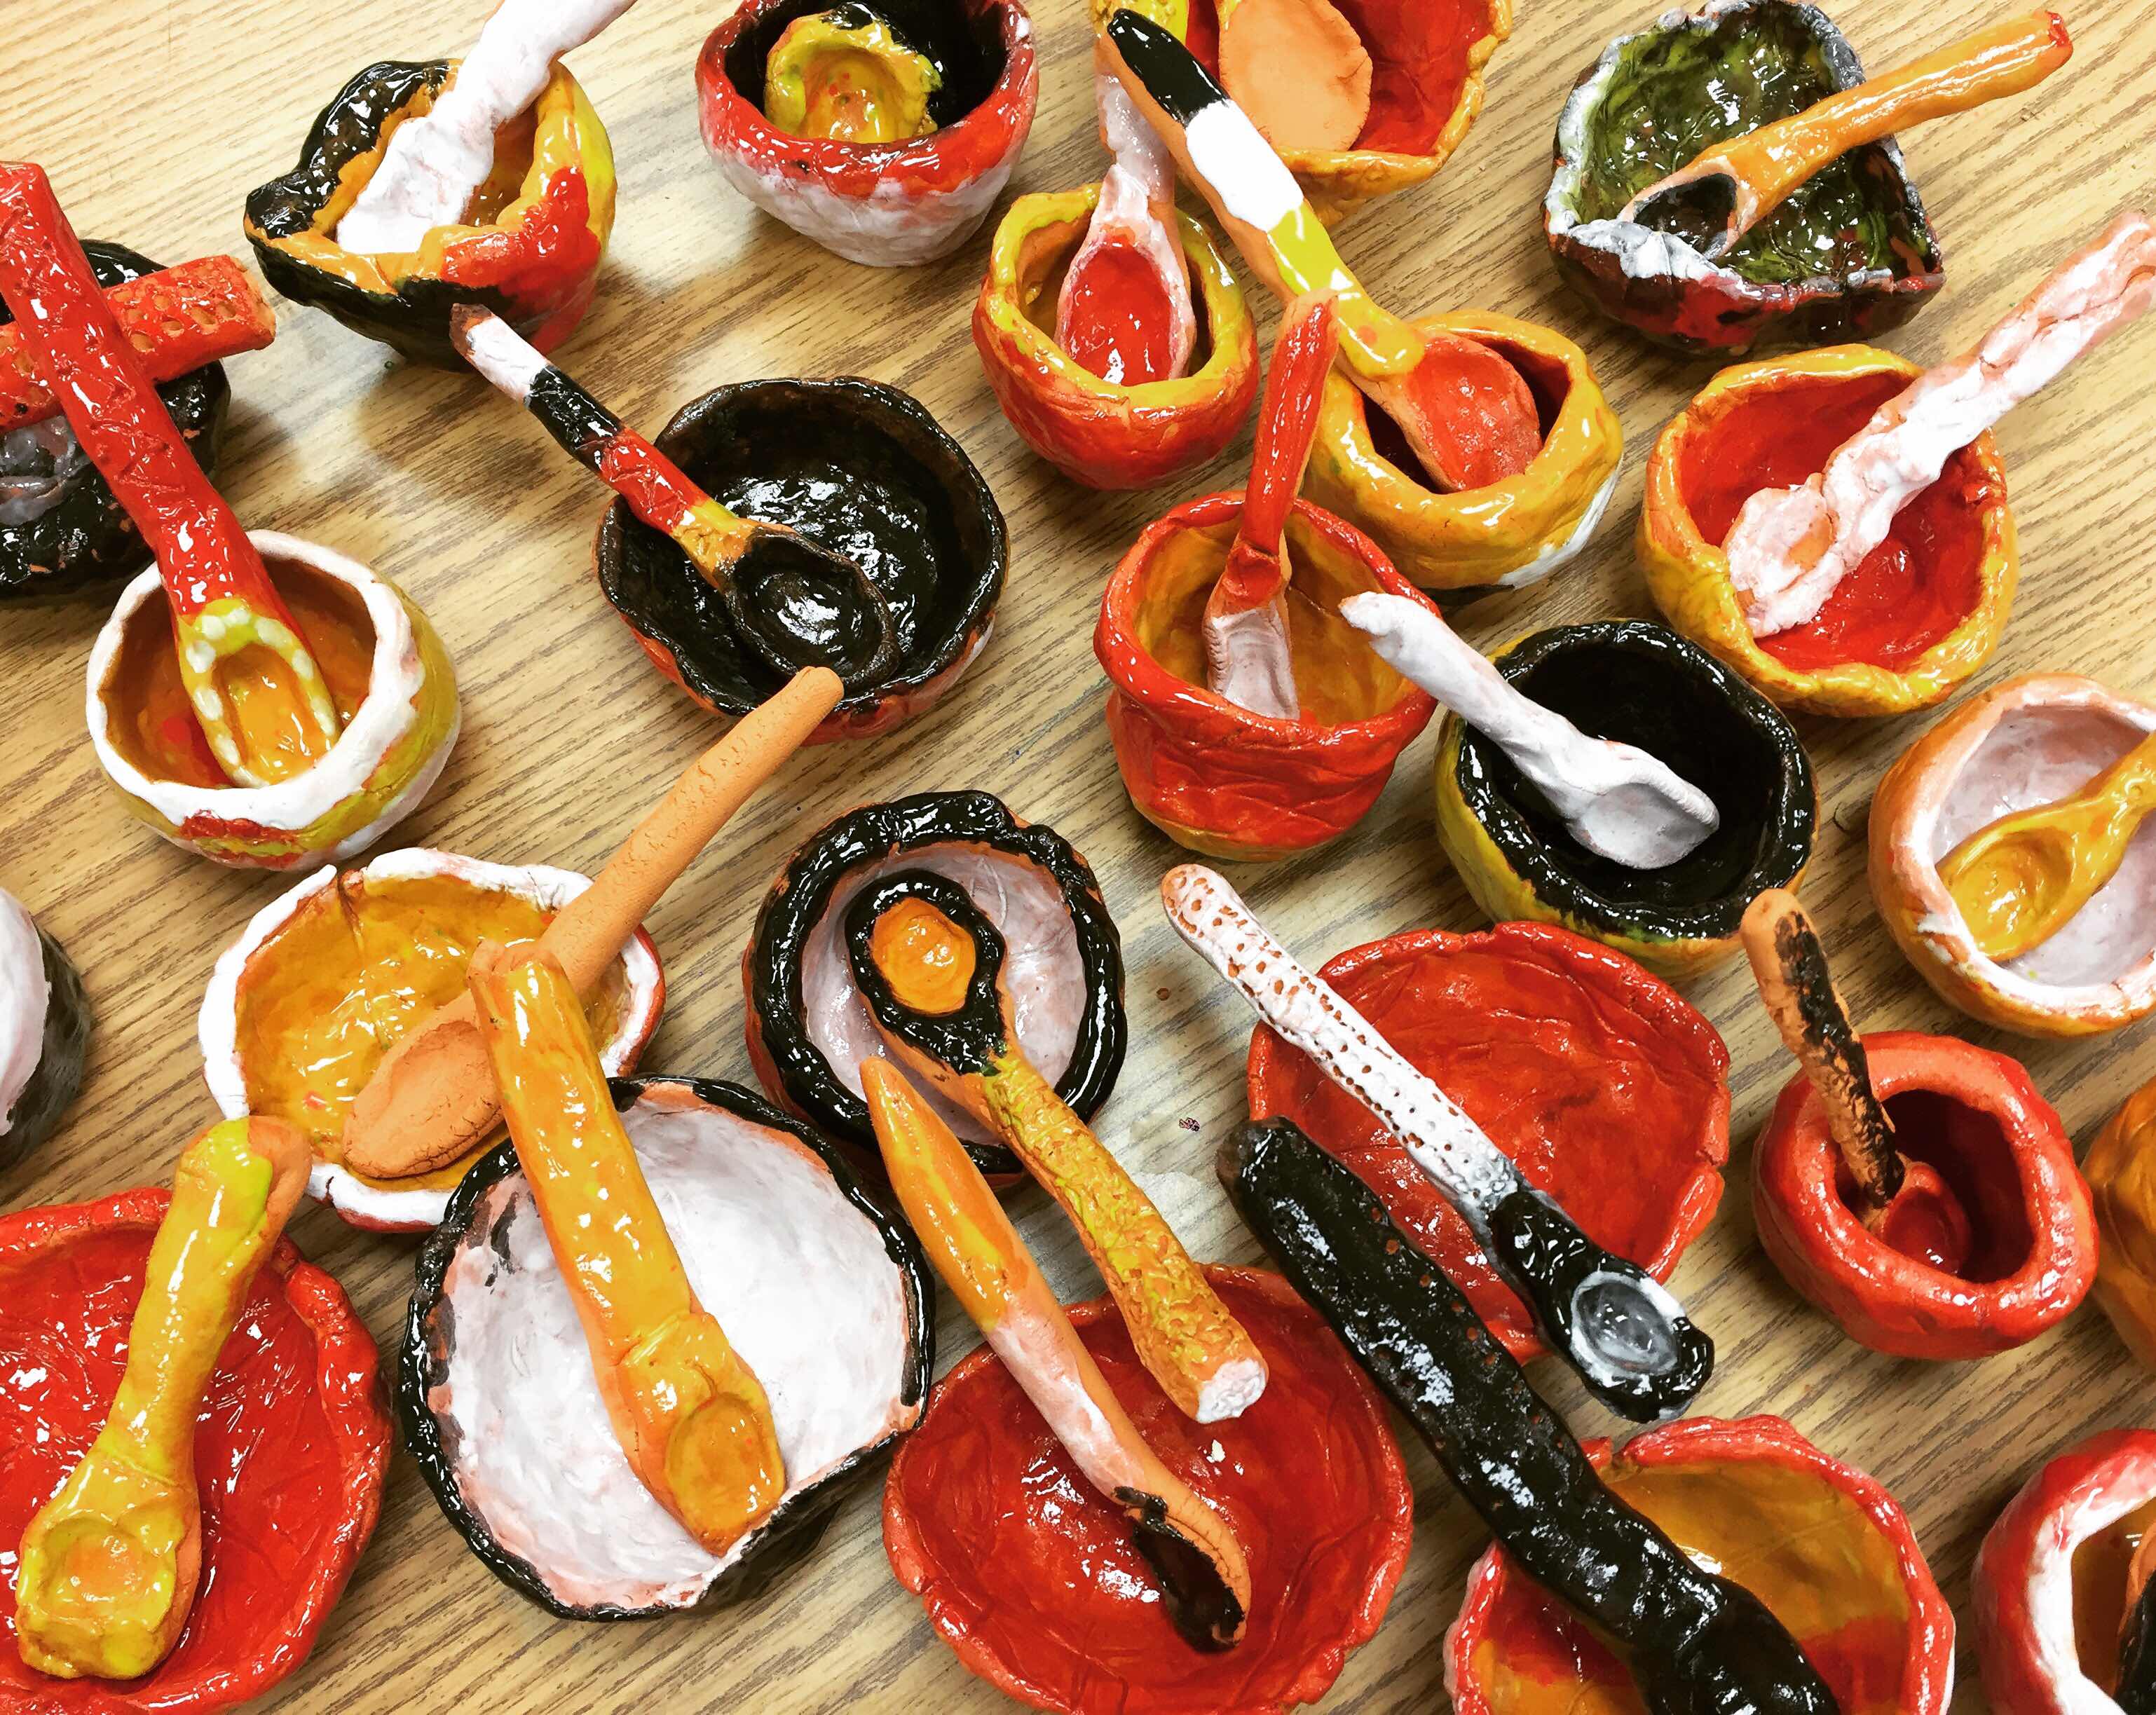
Second graders made pinch pots with the addition of coil feet and spoons


Third graders made aquariums and terrariums that could stand upright with the addition of a cardboard stand in the back.


Fourth graders made pots from hand rolled and cut slabs that were adorned with a personal symbol - students chose a function for their pot like a plant pot or a desk pencil cup.


Kindergarten fossils and 5th grade wall pockets and slab bowls not pictured but coming soon!


Friday, April 6, 2018

Clay works in all grades

We have been having "Clay Days” over the last semester, where one day a week would be set up for clay all day. Then once that day's projects have been fired, glazed, refined, and packed - we start again with another weekday. This is a management system that makes it easier and more efficient to do clay projects with the whole school, because I can only store about 6 classes worth of projects at a time. Here are a few of the projects to we have created this year:
Kindergarten fossils


First grade pet portraits


Second grade thumb owls and bowls with spoons


3rd grade Mexican sun/moon tiles


Fourth grade coral reefs and cactus bowls


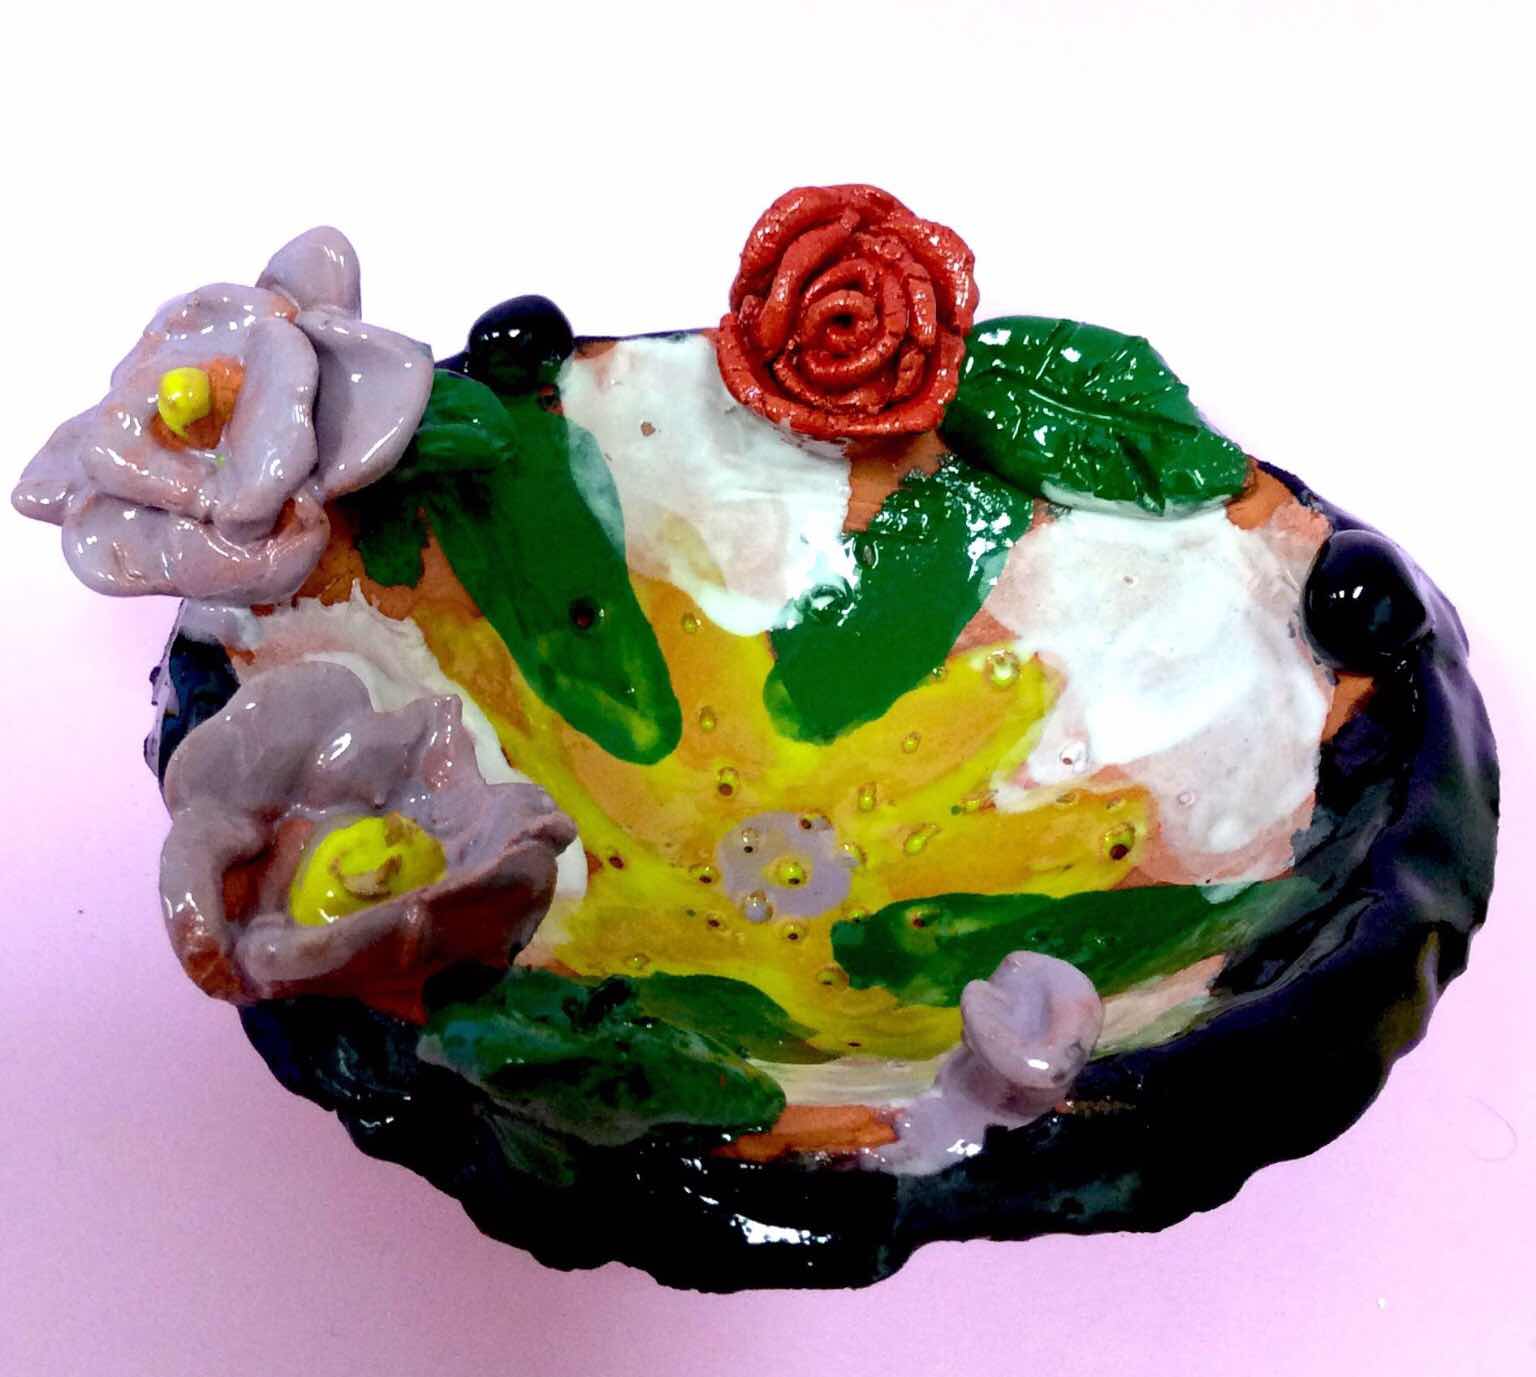
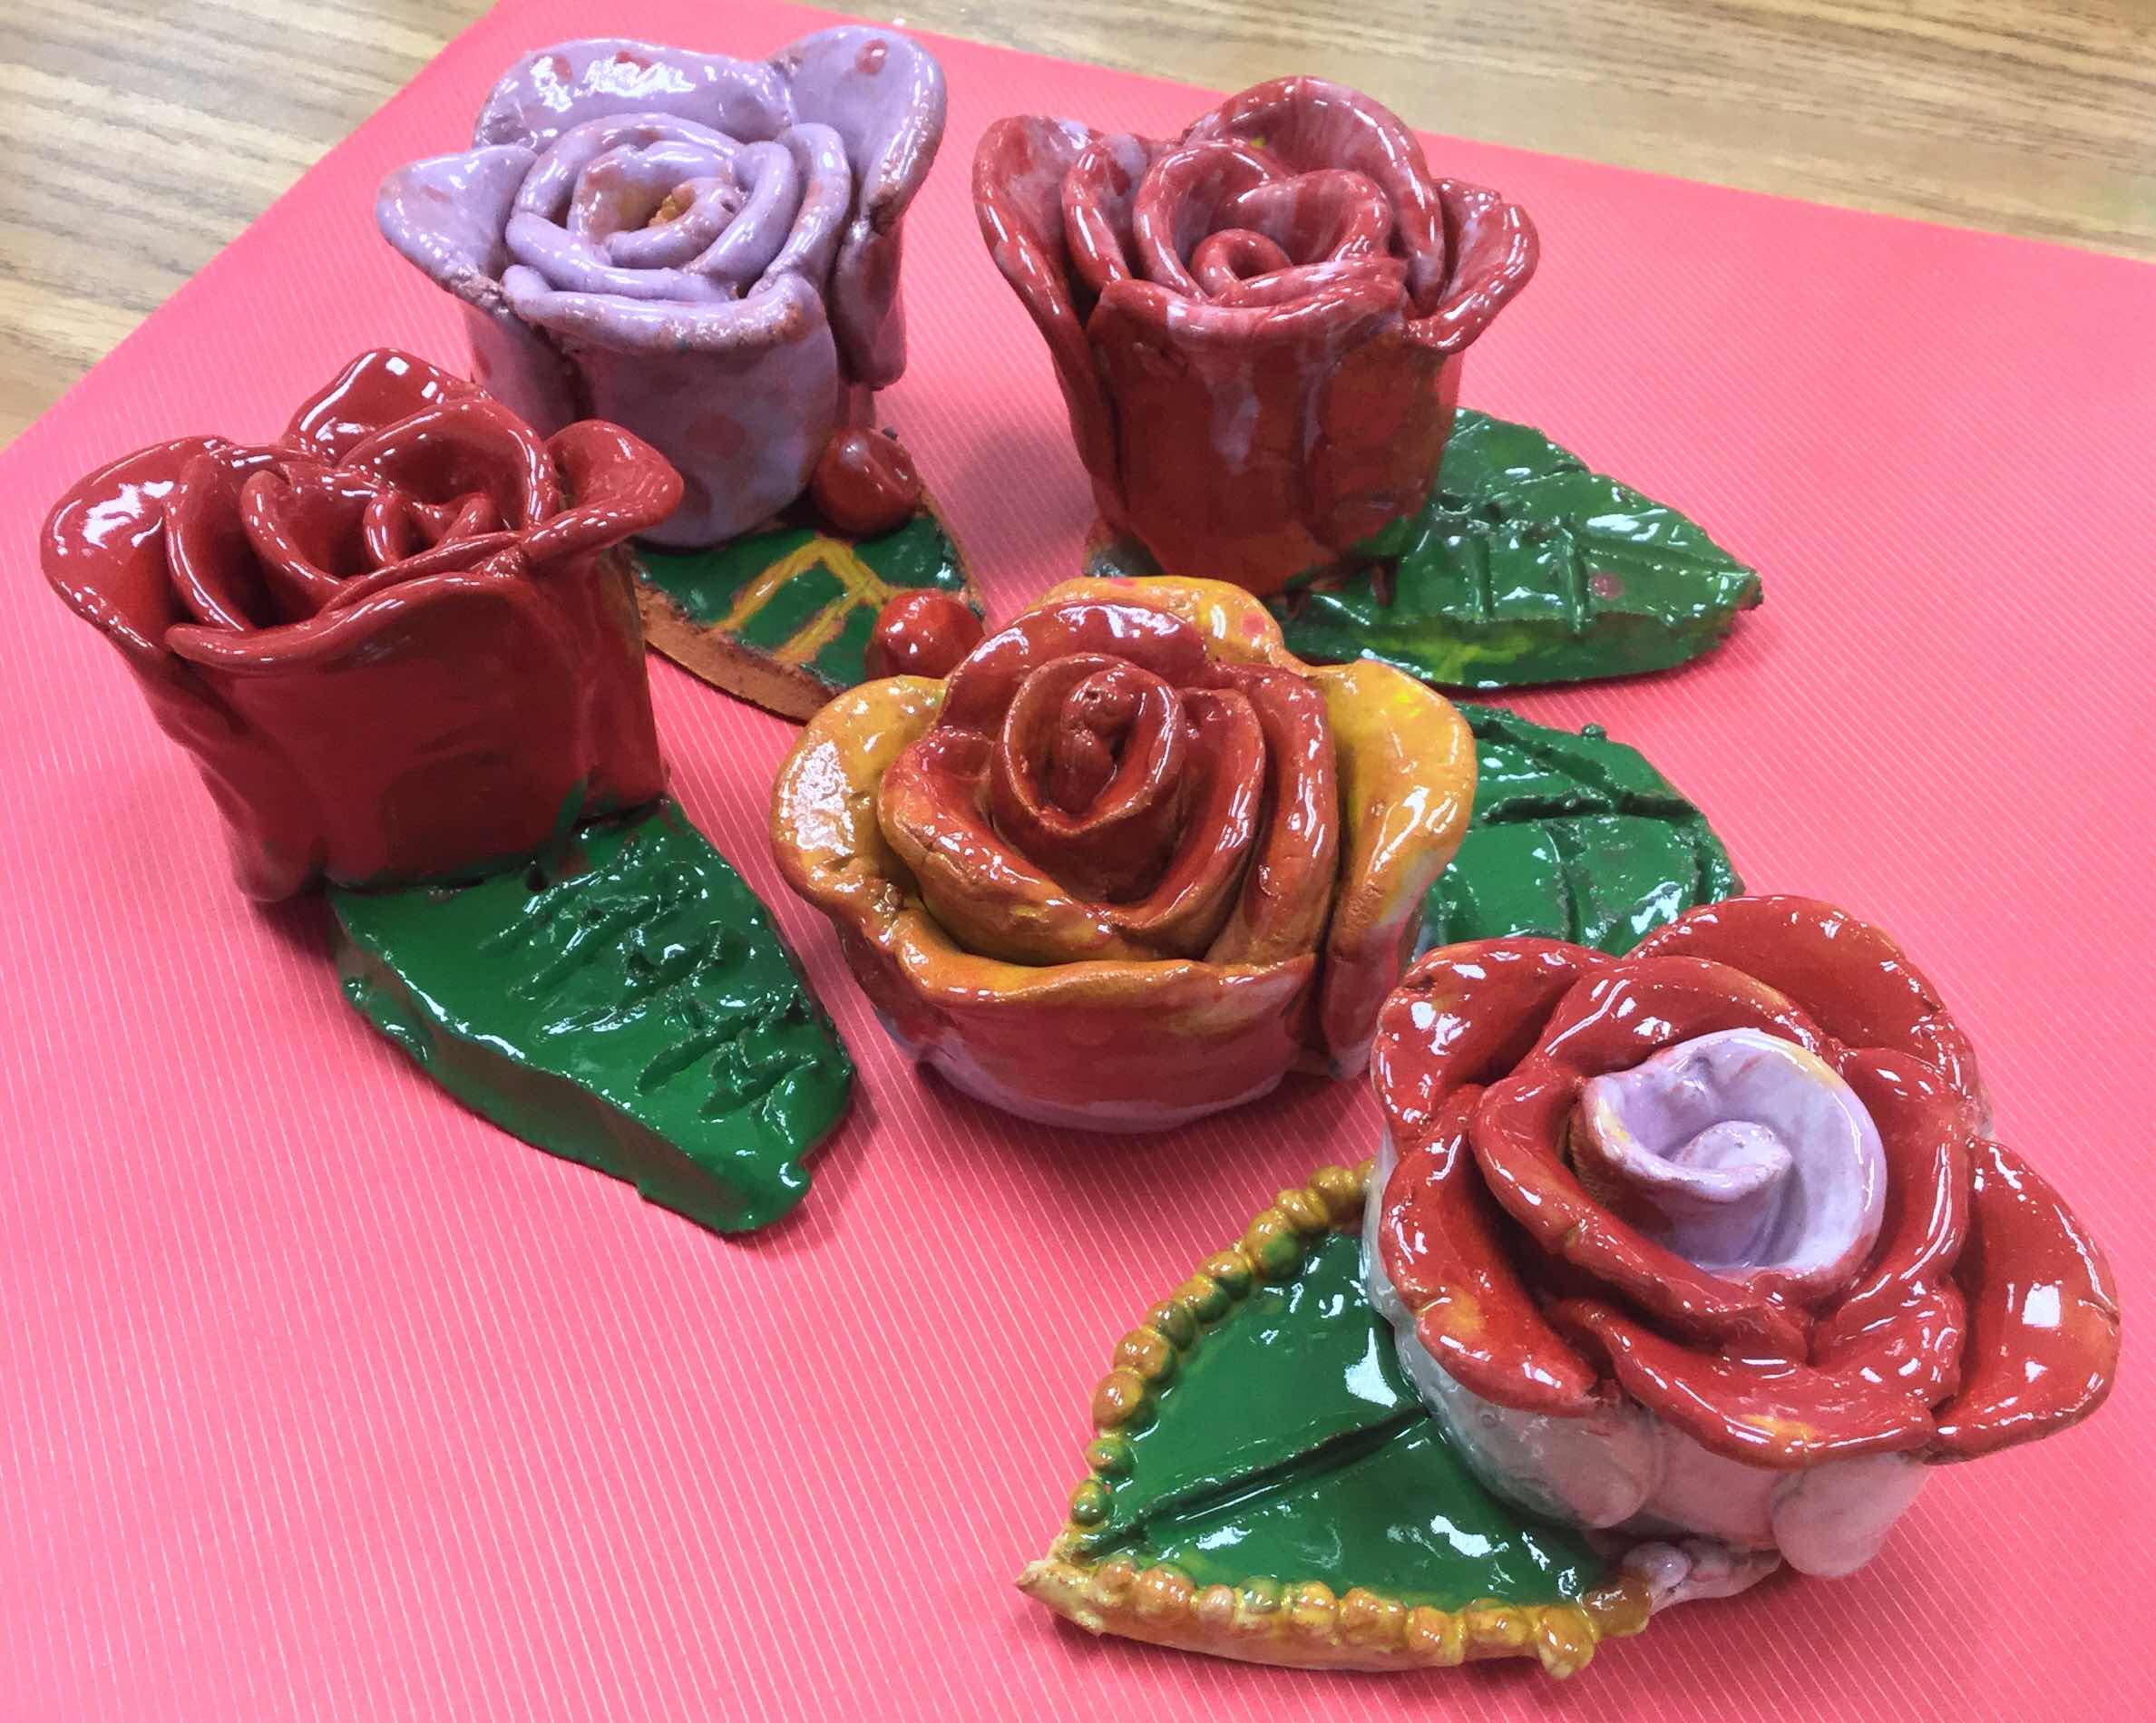
Fifth grade bowls, planters, and roses by assorted grades


Wednesday, May 24, 2017

5th grade clay fish sculptures


I was inspired to teach this lesson after seeing these beautiful sculptures on Pinterest, from the Italian website http://www.biavatibottegadellestelle.it/ - La Bottega Della Stelle.

I was taken with the simple fish forms and textures, and I really wish I had some of those beautiful neutral glazes, but no luck this late in the year, so we opted for bright tempera. Maybe next year! 
We built these in one session - we started with a thick pinch pot and flipped it over and added a variety of coral, seaweed, starfish, and other details. Then we formed a slab and added details to both sides to create the fish. Lastly, at the end of our 45 minute session, we poked holes in both using a wooden dowel and a slight stirring motion to enlarge the hole for shrinkage. 


After a bisque firing, we painted the surfaces with liquid tempera and added a bit of hot glue. They turned out beautifully! 


 She named this one "Emo Nemo" - clever! Haha